Junior
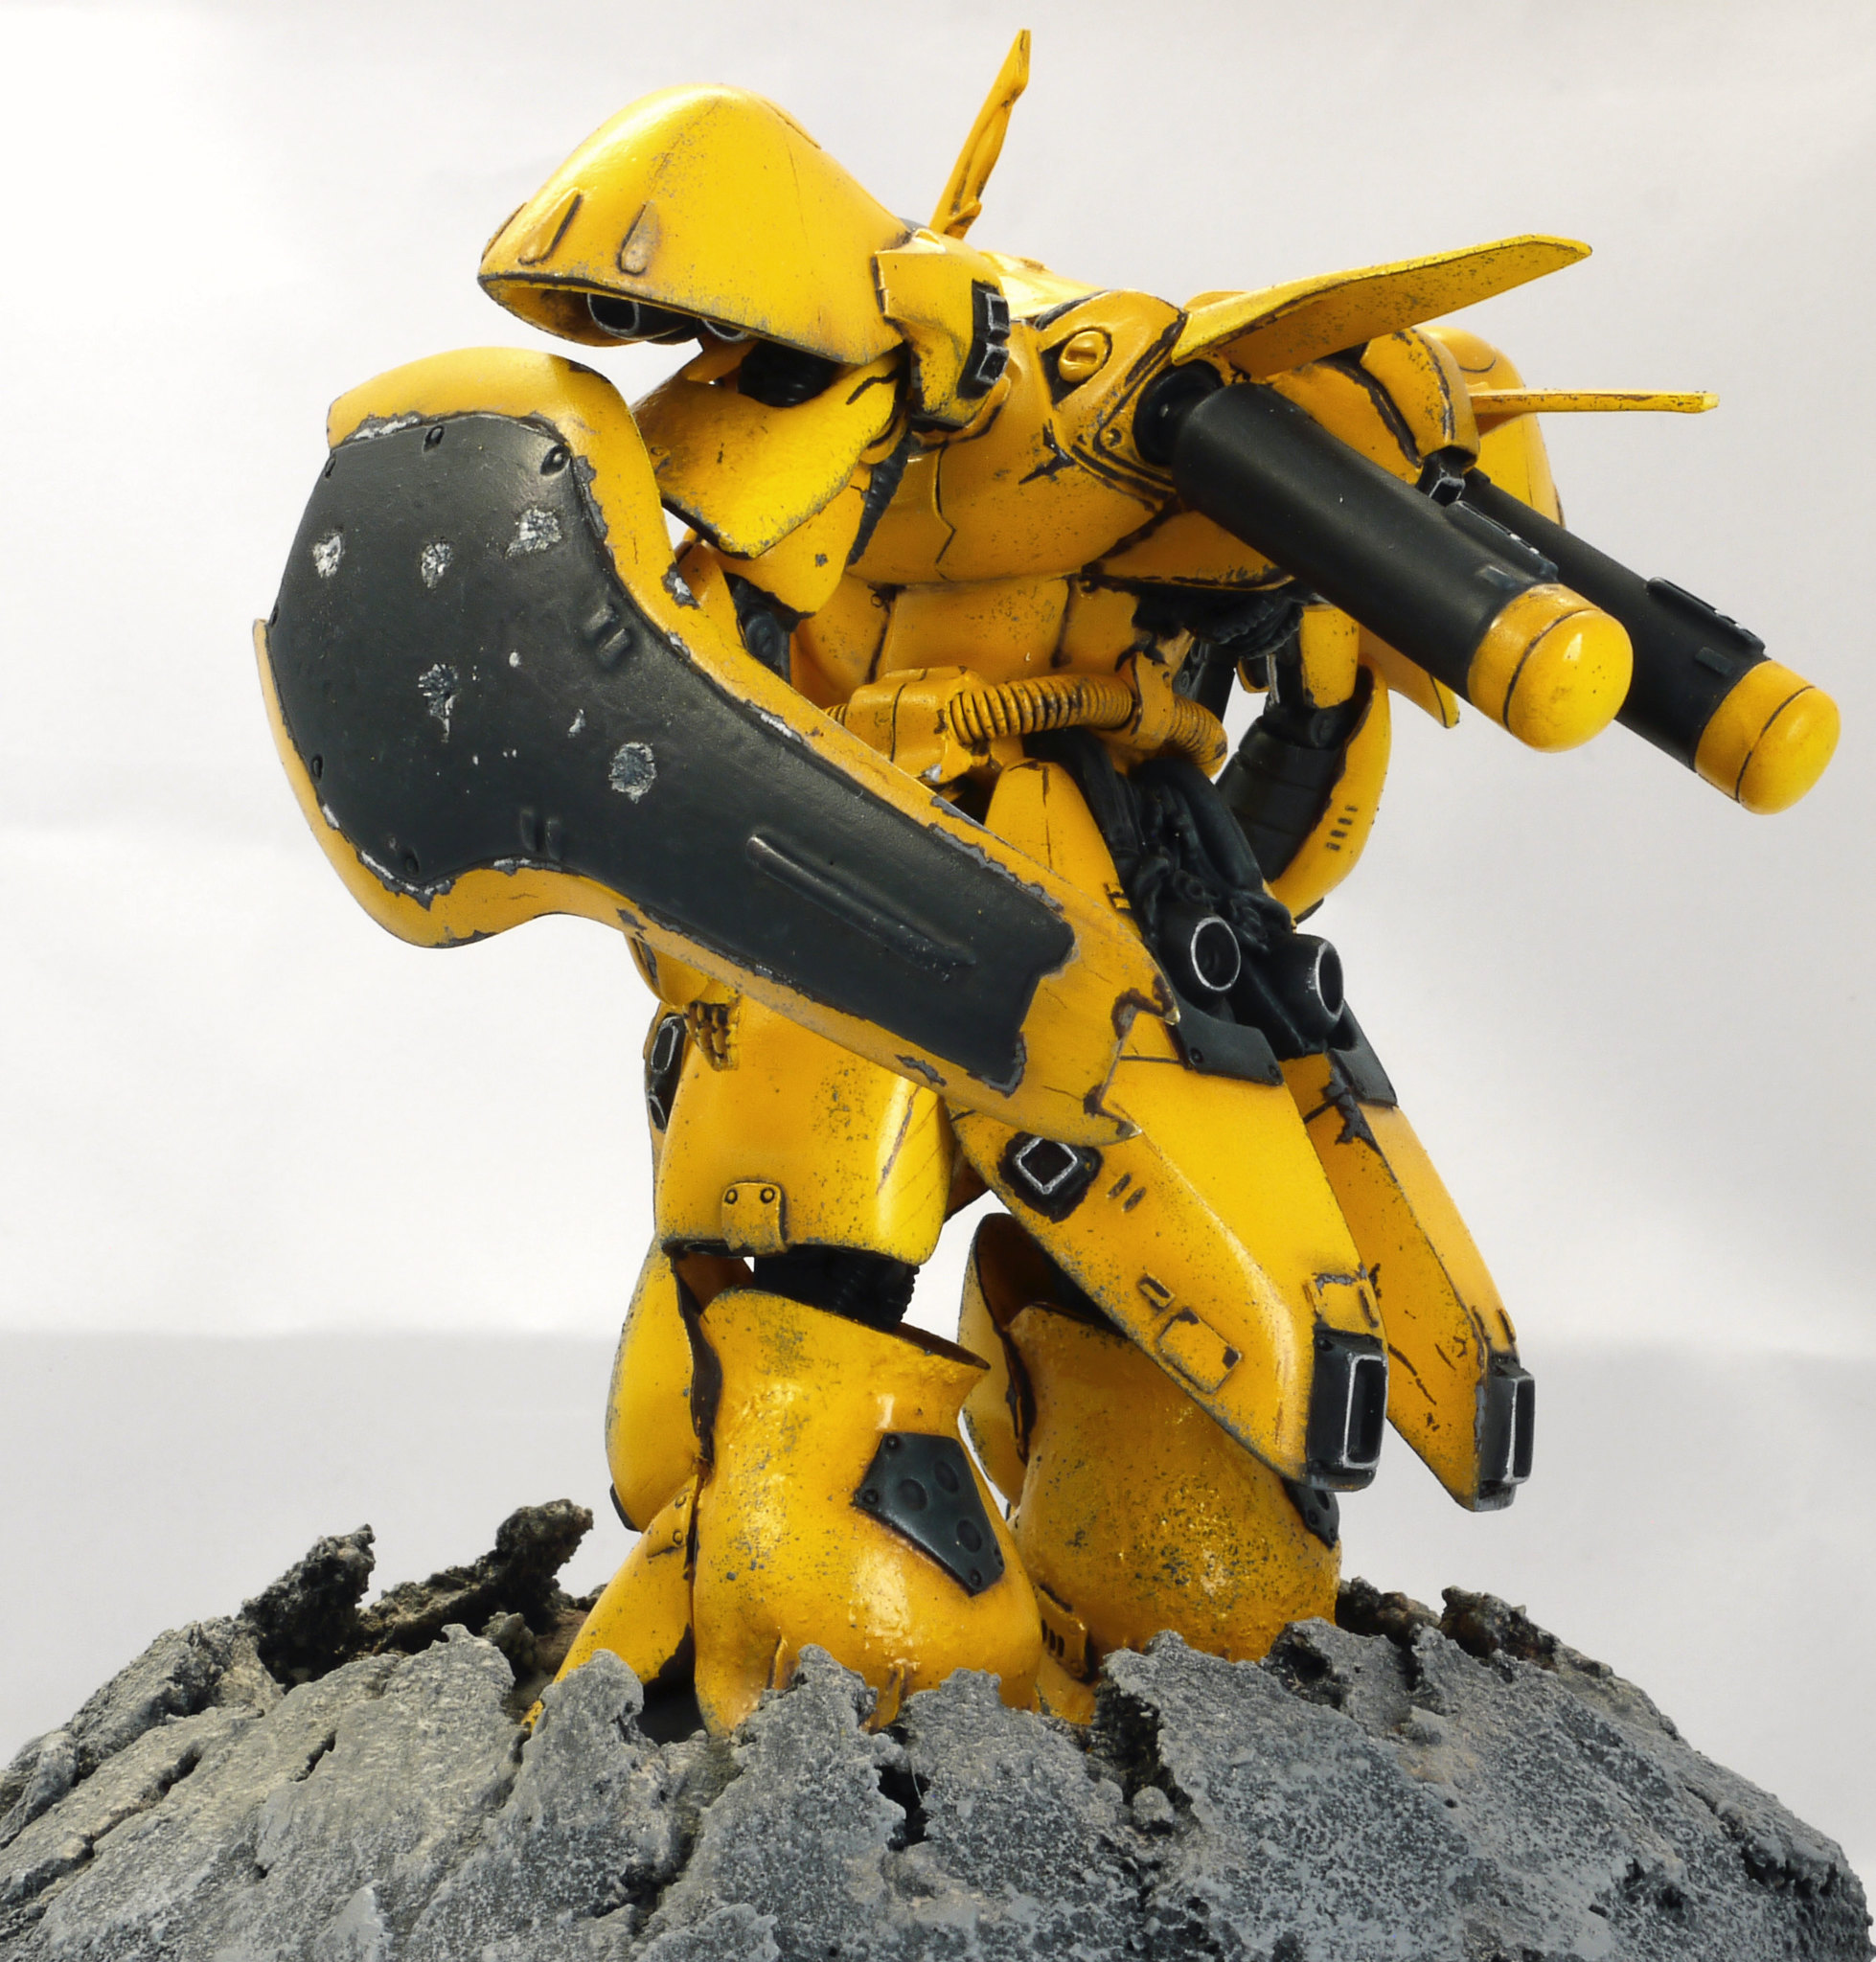
If you're not familiar with Gundams and mobile suits in general, the Sazabi's canonical color is red, but since I had already painted another one with its trademark tint, I followed Jonathan's suggestion and tried a less common black/yellow schema.
Point is: yellow can be a mischievous and cantankerous tint.
Depending on the way you paint (brush or airbrush), the hue can turn dramatically greenish with just a drop of black or a light grey preshade.
Furthermore you tipically need three or more layer for a smooth opaque result.
Keeping this in mind, let's see the main steps of this work.
As every resin kit, the very first thing to do is taking the creature to a warm bath of water and dish soap.
An old soft toothbrush will help to further remove any remains of the mold release agent.
Trust me, never skip this step, the result can be quite unpleasant; the agent helps the detachment from the mold as much as from the paint.
Normally, on these kits, priming is not strictly necessary. Paint "grips" pretty well on resin surfaces, but it's still quite important to better spot minor defects like bubbles or mold junctions.
In this case, a white primer is also a proper choice for a completely neutral base coat.
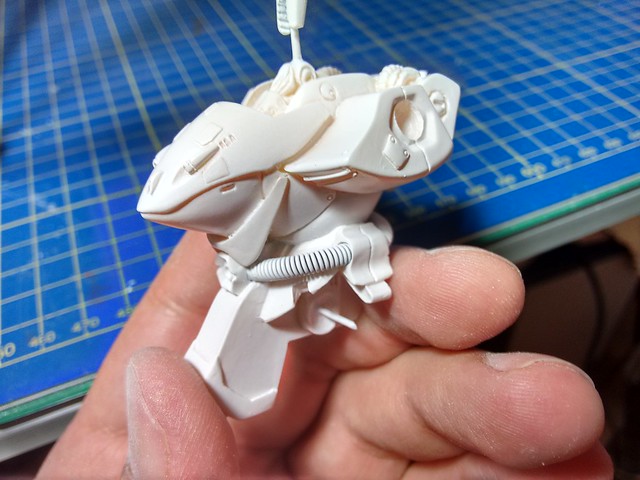 |
| Priming: helping you spotting bad junctions since the dawn of time |
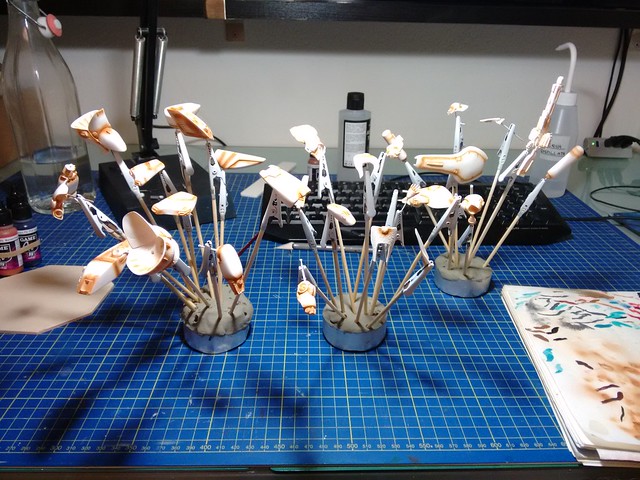 |
| I should have taken a better picture for the preshade phase, sorry |
Depending on the number of layers, you can adjust the shading as you prefer. Considering the scale (1/220) I decided for a subtle approach.
Keep in mind, when balancing the shade underneath, that a more red/brown color will turn the result toward a warmer orange, a brown/grey will turn to a colder tint.
Once finished with the yellow, I sealed everything with a double layer of clear gloss.
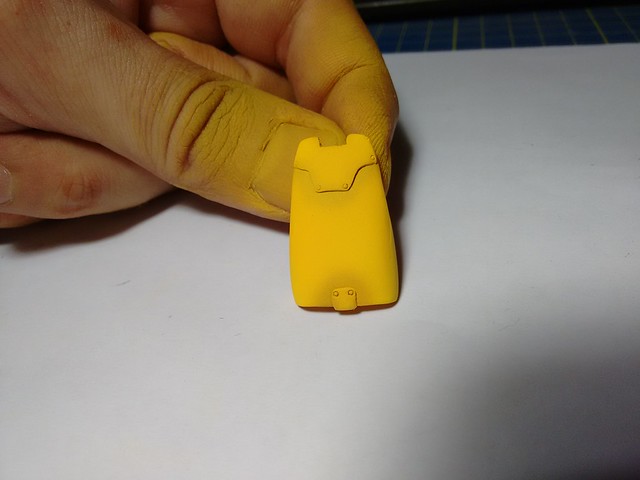 |
| Latex gloves avoid the also feared Simpson-effect |
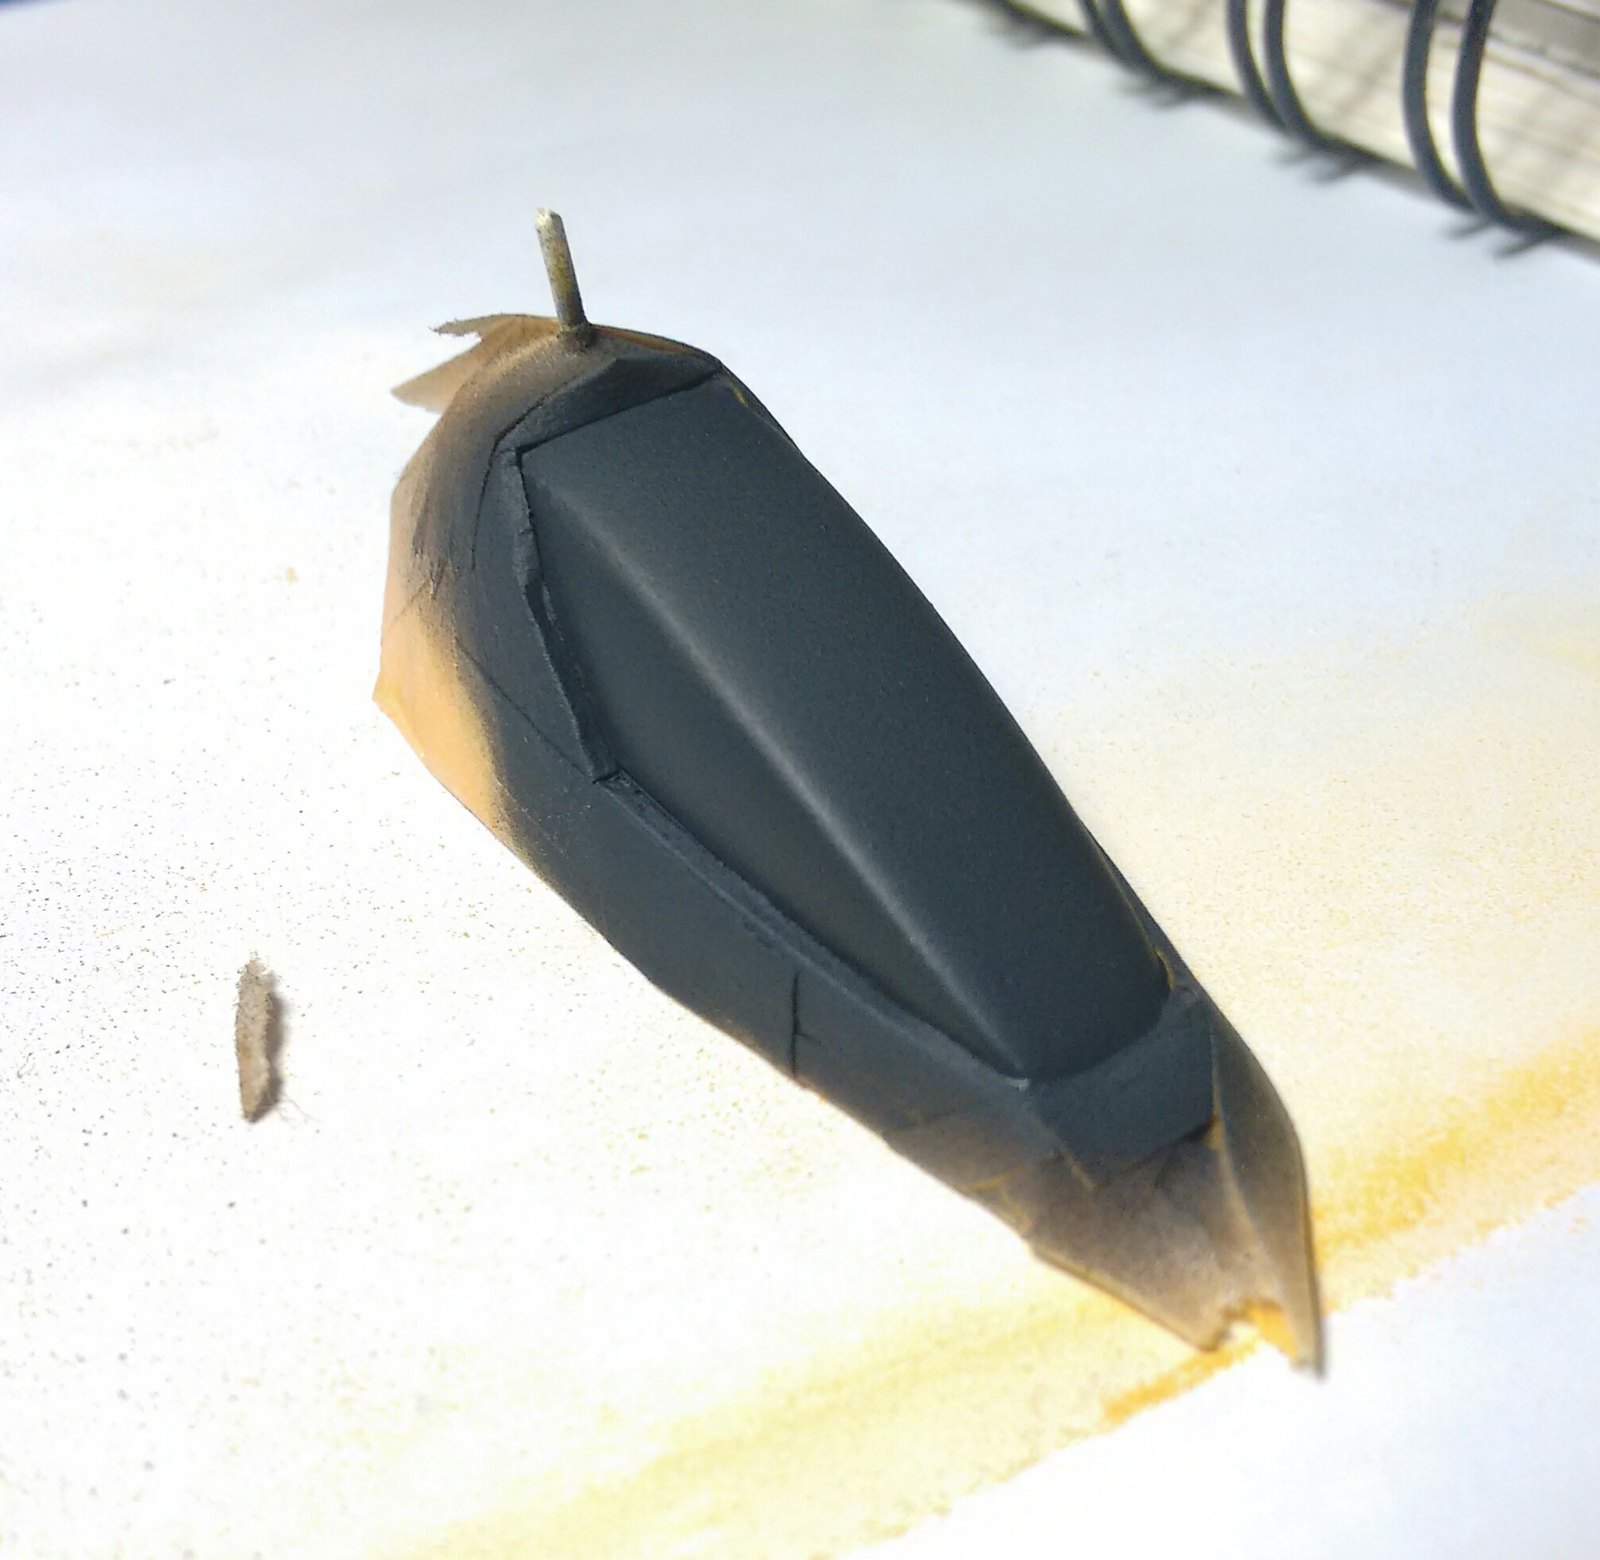 |
| graphite = black (66%), sea blue (33%), white (1%) |
Remember to take advantage of it also for the dry-brushing/washing phase.
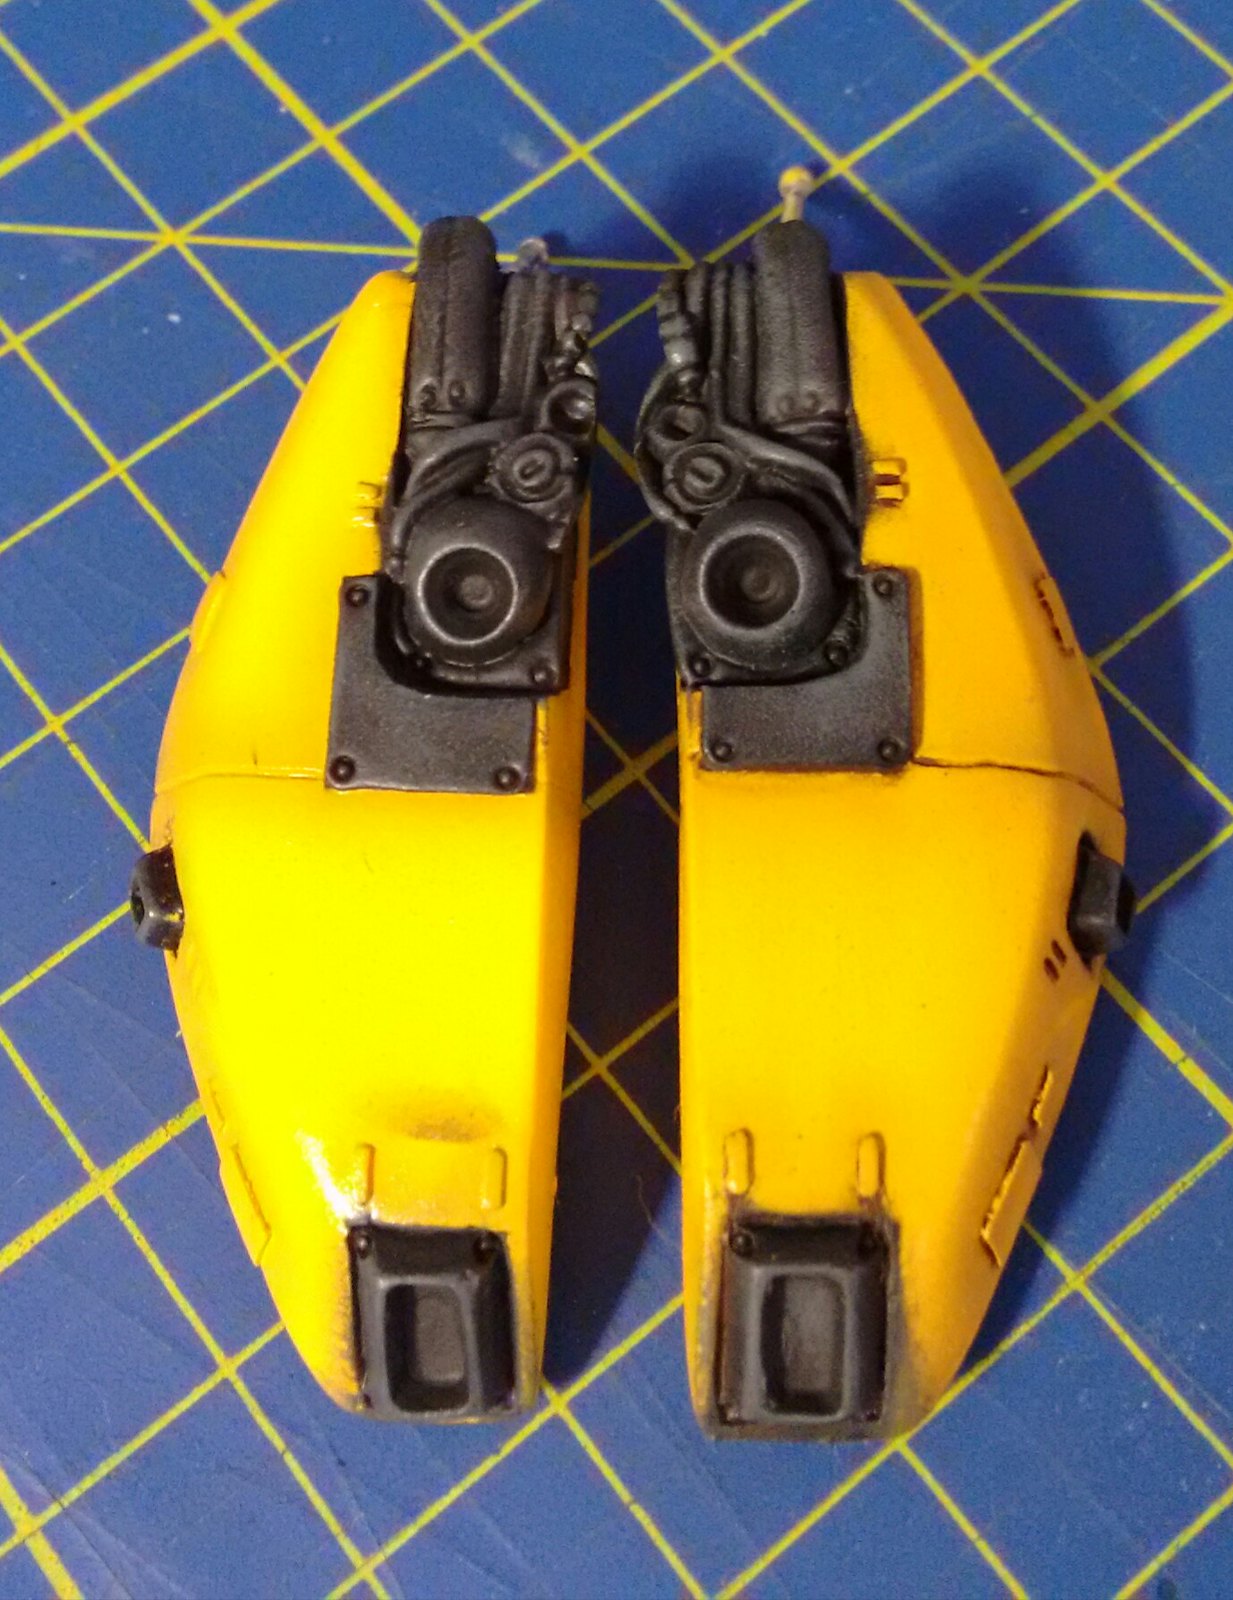 |
| One day I will understand the white balance of my phone |
I started with a simple pinpoint wash with some enamel based grey.
Thanks to the glossy surface, it was extremely easy to remove the excess, leaving just the correct amount of dirt on the recesses and the most exposed parts (like around the joints and the many thrusters)
I chipped the surface and the edges with a black-brown using a piece of sponge for the small dots and a fine brush for the larger area.
Always keep in mind the scale and try to figure out which area should be more affected.
Where the chipping is supposed to be more pronounced, I added some more "complexity" outlining the brown areas with a thin border of dark grey.
The more damaged parts (like the shield, or the frontal armor) have a little amount of aluminum here and there, just to suggest the exposed bare metal.
If you prefer working with lots of unassembled pieces (like I do), always take your time to verify the correct "balance" between the weathering of the various parts.
And keep in mind that it takes less time to add some more chipping, than removing too much.
 |
| Weathering helps popping out details and volumes |
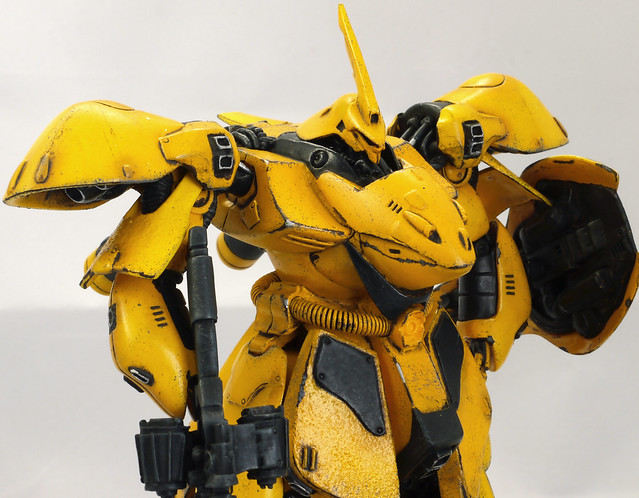
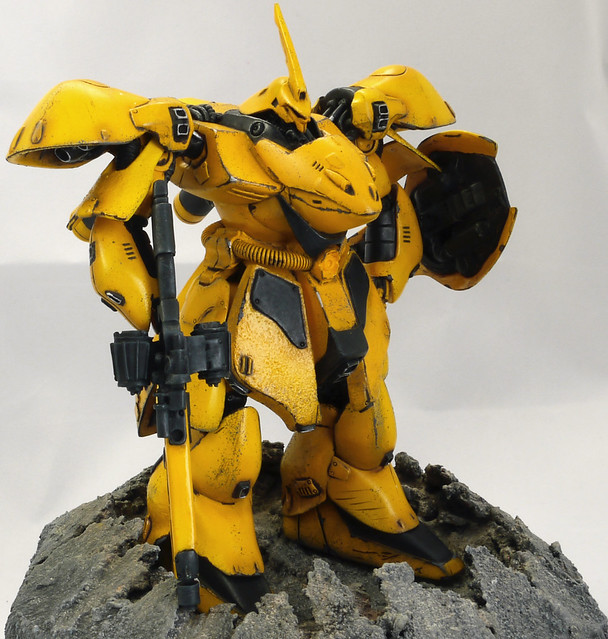
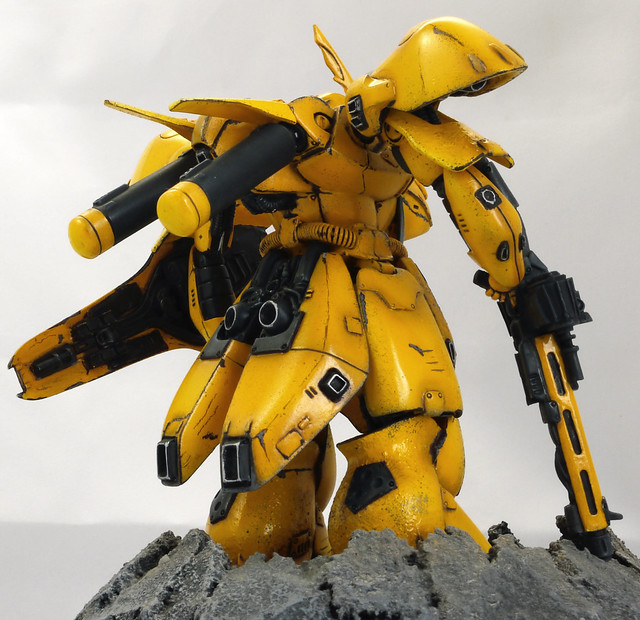
I imagined this mecha being part of some sort of mercenary company, with no other markings except for its cocky bright palette.
Let me introduce you: "The Yellow Bastard"
Color Chart
- Tamiya XF-1 Flat Black
- Tamiya XF-2 Flat White
- Tamiya XF-17 Sea Blue
- Humbrol 27002 Polished Aluminium
- Vallejo 822 German Cam Black Brown
- Vallejo 772 Red Terracotta
- Valleyo 994 Dark Grey
- Mig 1407 Engine Grime


No comments:
Post a Comment