
Auto
First things first: I'm really sorry for the delay. Furthermore in this case I had some major setbacks at home that stacked atop my regular slowness.
Actually I wanted to publish the post after completing the base, but for "How I Did It" section even the model alone will suffice.
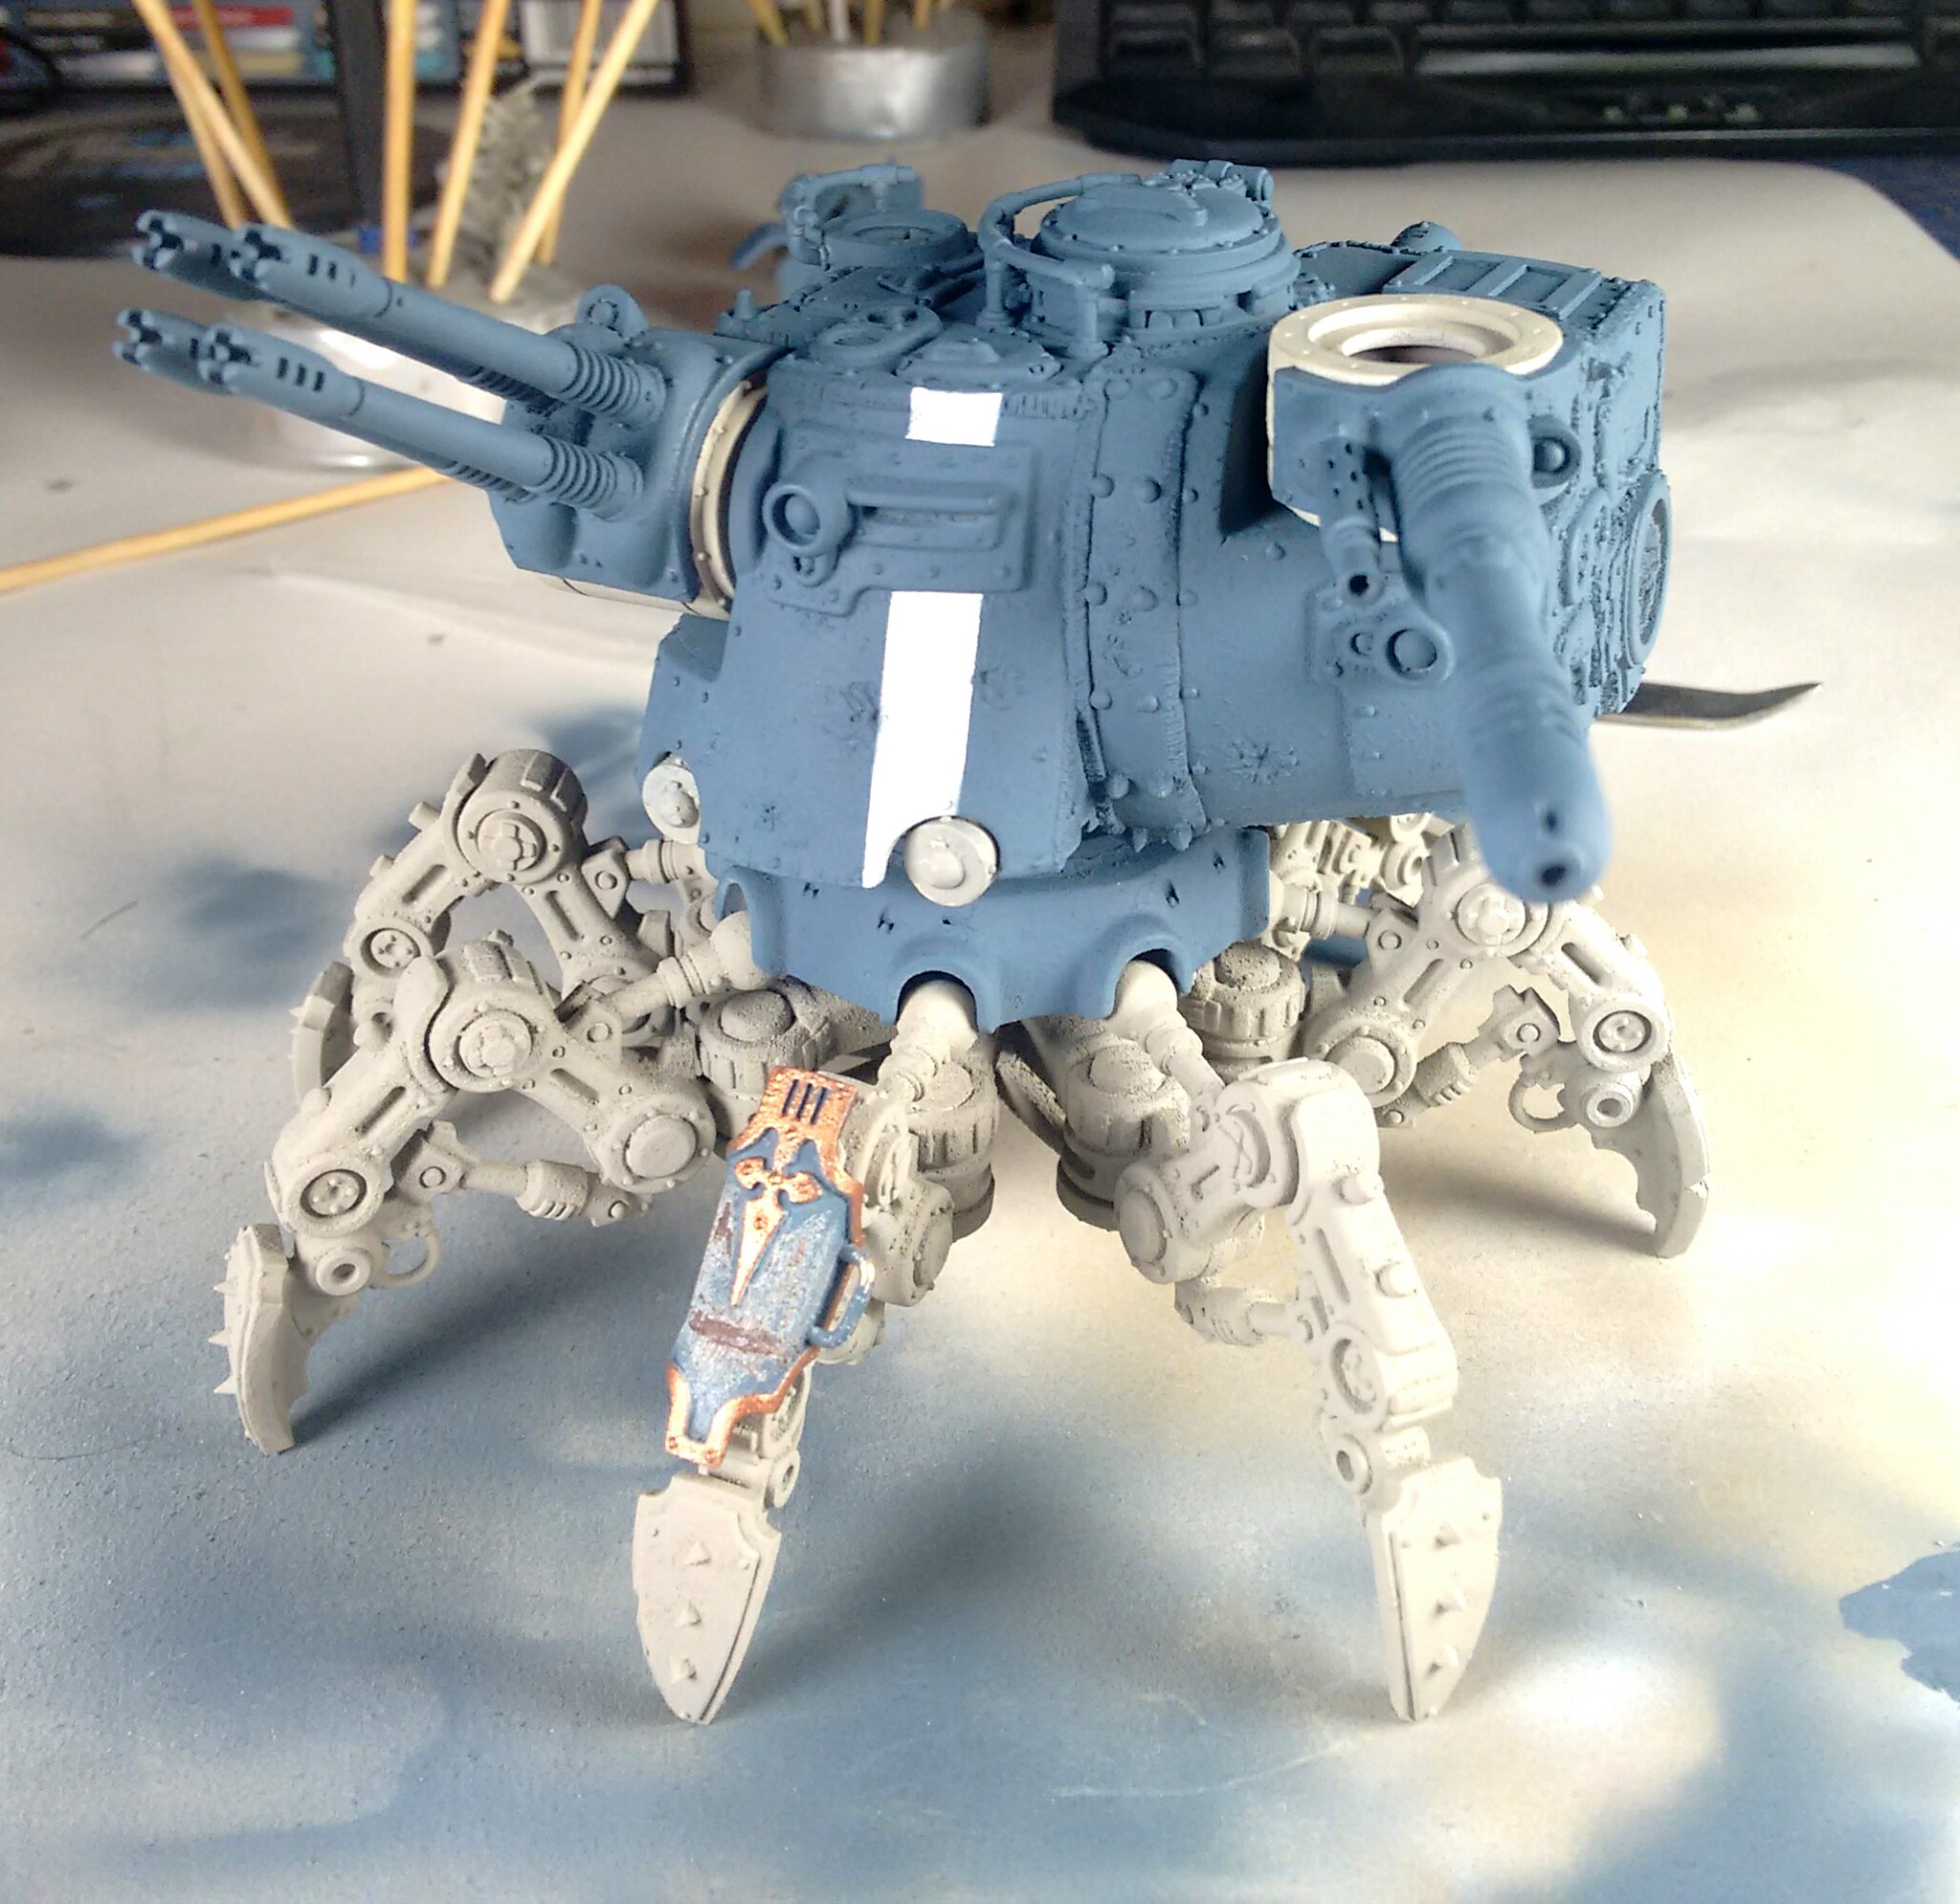
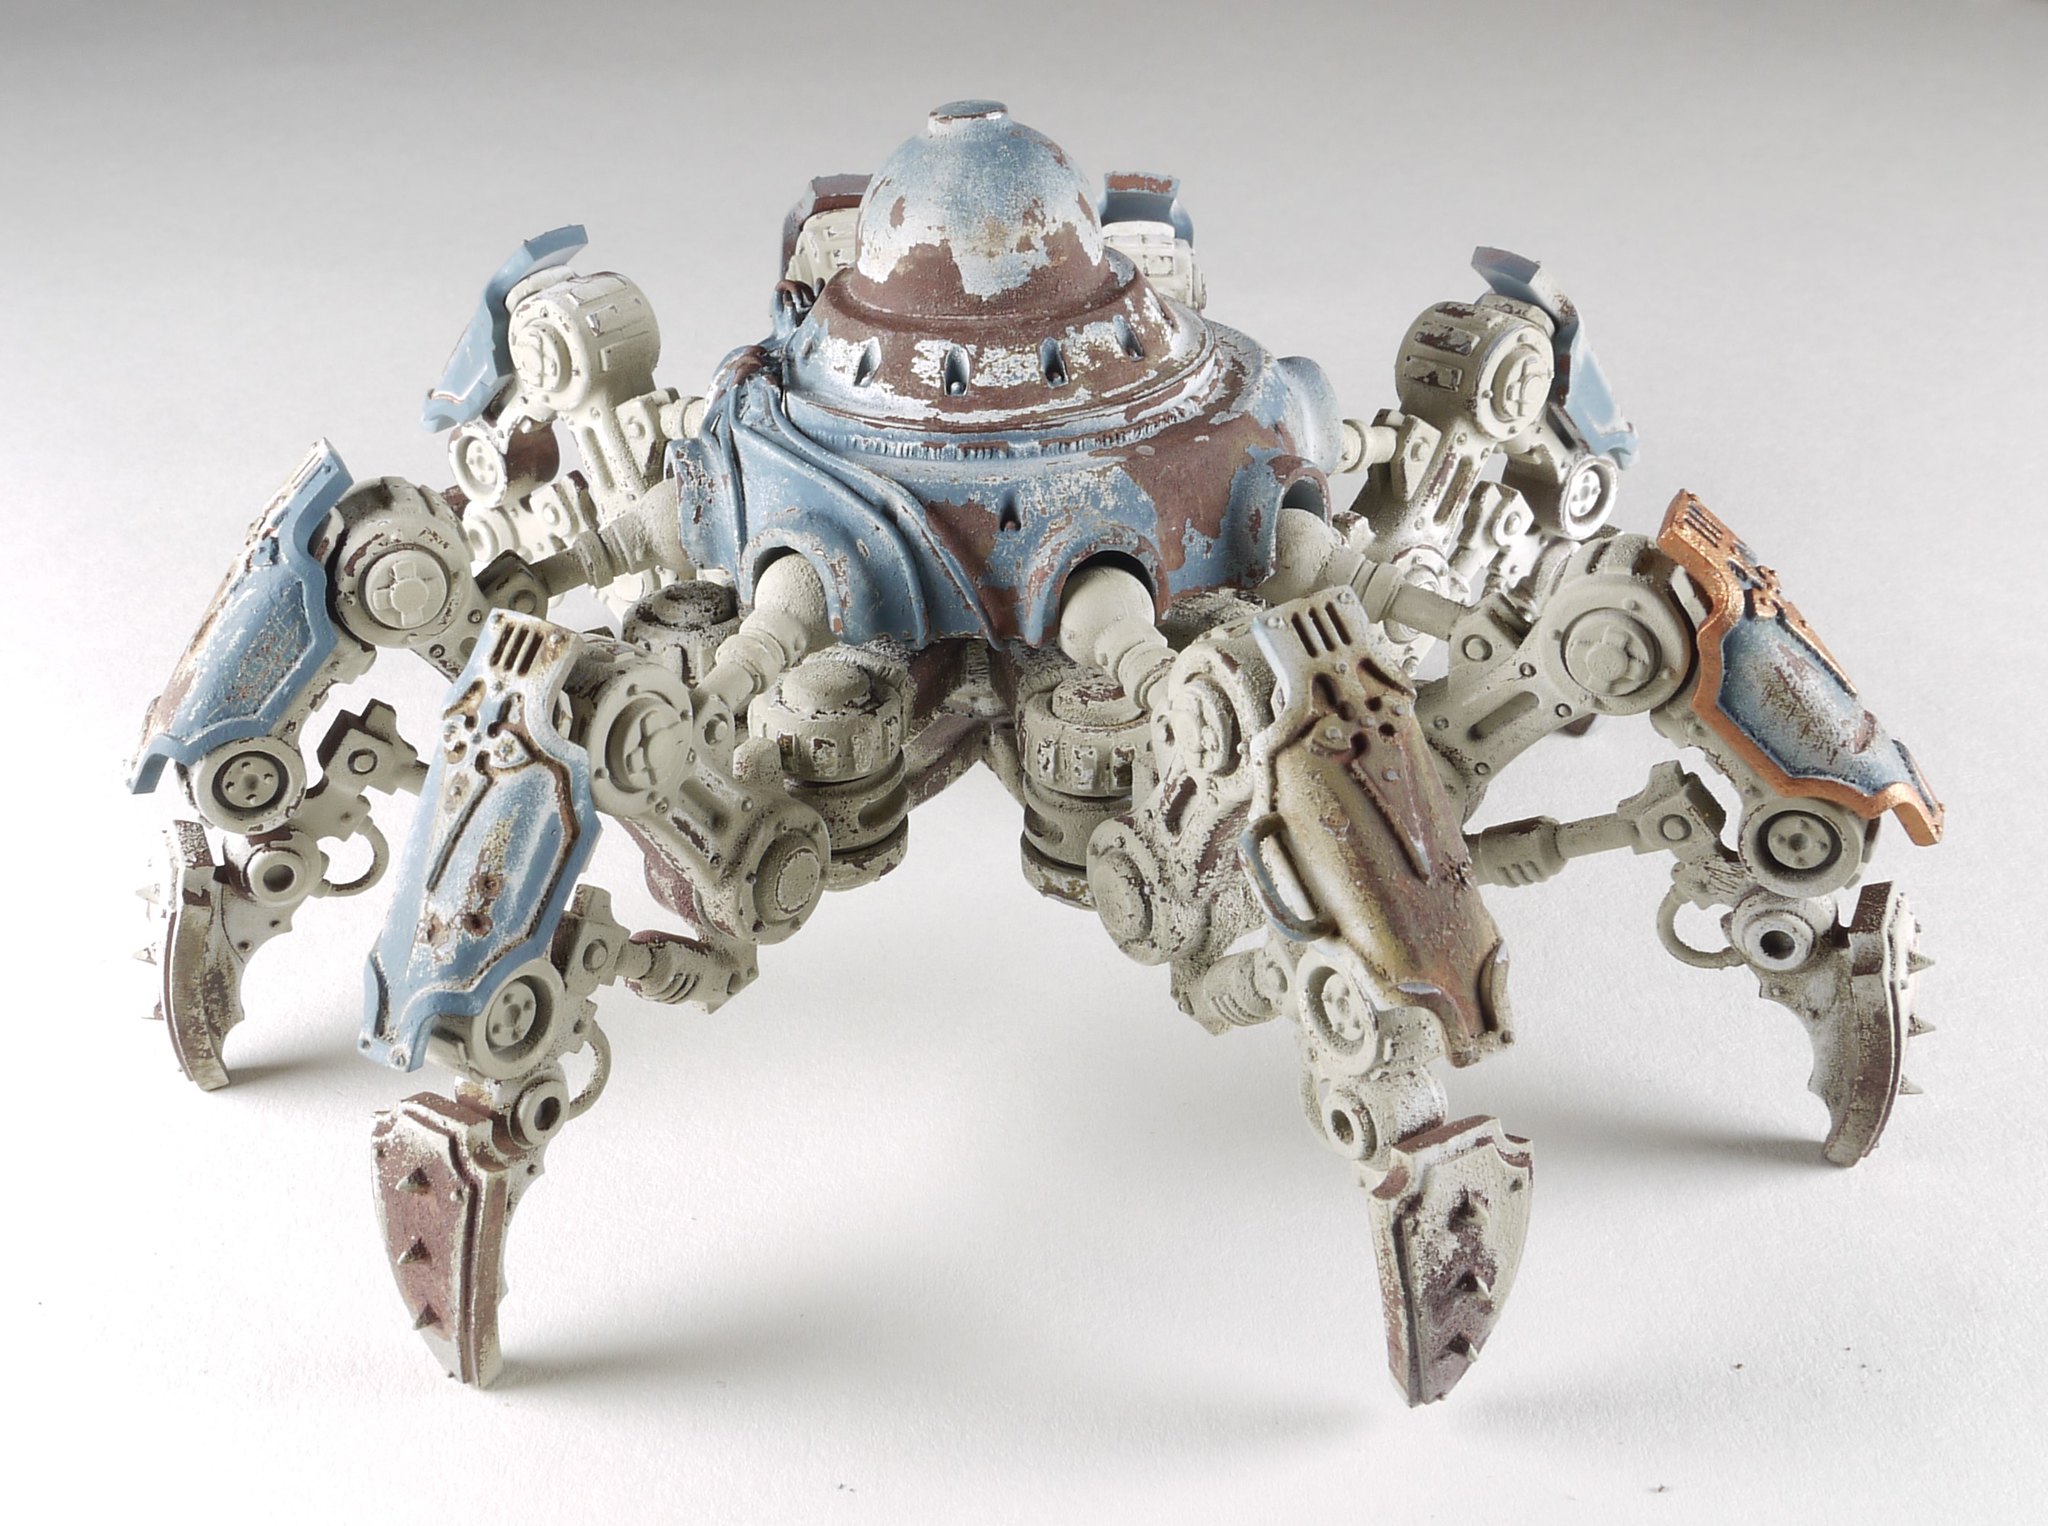
So let me simply add that it is my very good honor to introduce you the completed One-Forty-Twenty
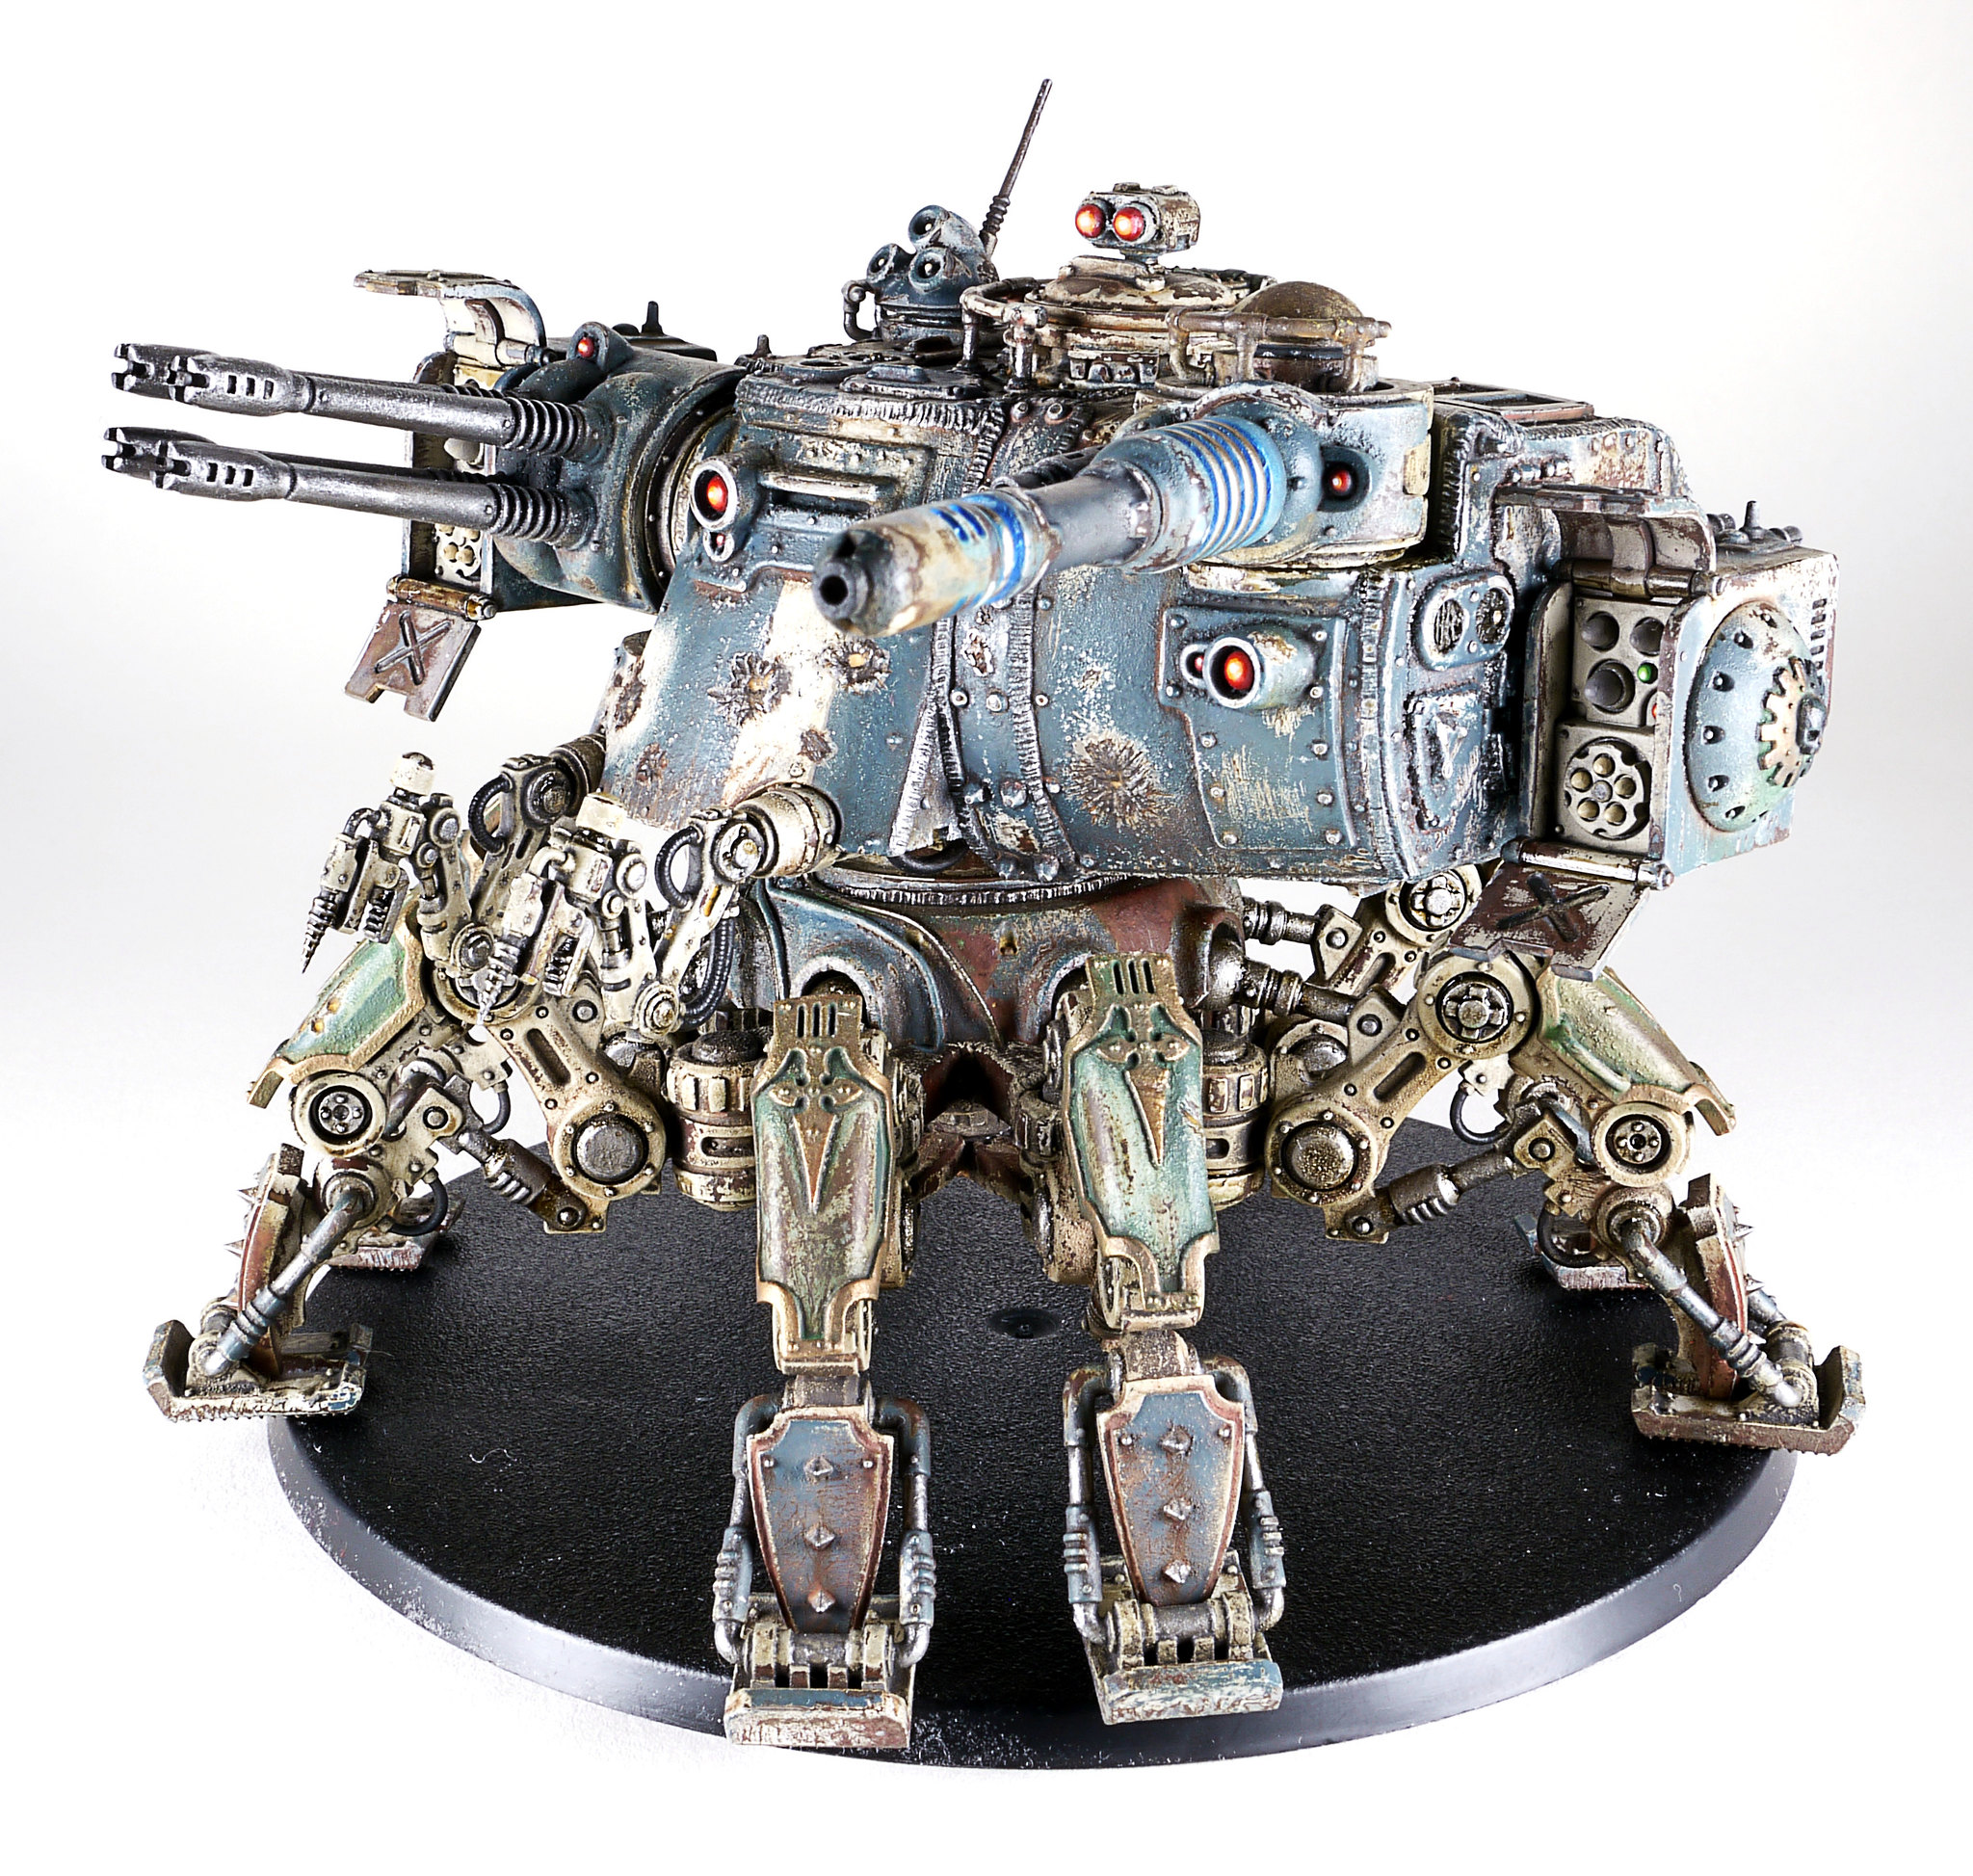 |
| We're gonna need a bigger base... |
The walker was supposed to be very old, even ancient from a certain point of view. Fully operational, but battered and scarred like some never resting machinery.
Like an old car from a forgotten scrapyard.
 |
| Photo from Dahai Z on Flickr |
The schema had to be extensively chipped and weathered, but since the beast deserves some authentic "sun-cooked-scrapyard-look" just sponge or hairspray will not be enough.
Let's take a brief pause, what's happened when something get rusty?
Rust is the common name of several variation of iron oxide. Depending on the iron-based alloy and the oxidising conditions, the resul is the familiar flaky surface with colours that can vary from dark brown till ochra yellow.
The fact that you need iron to get rust, does not mean that other metals are impervious to corrosion, simply they don't necessary turn red and crispy.
Copper and copper alloy (like bronze) turn green/blue, alluminum gets matte, etc..
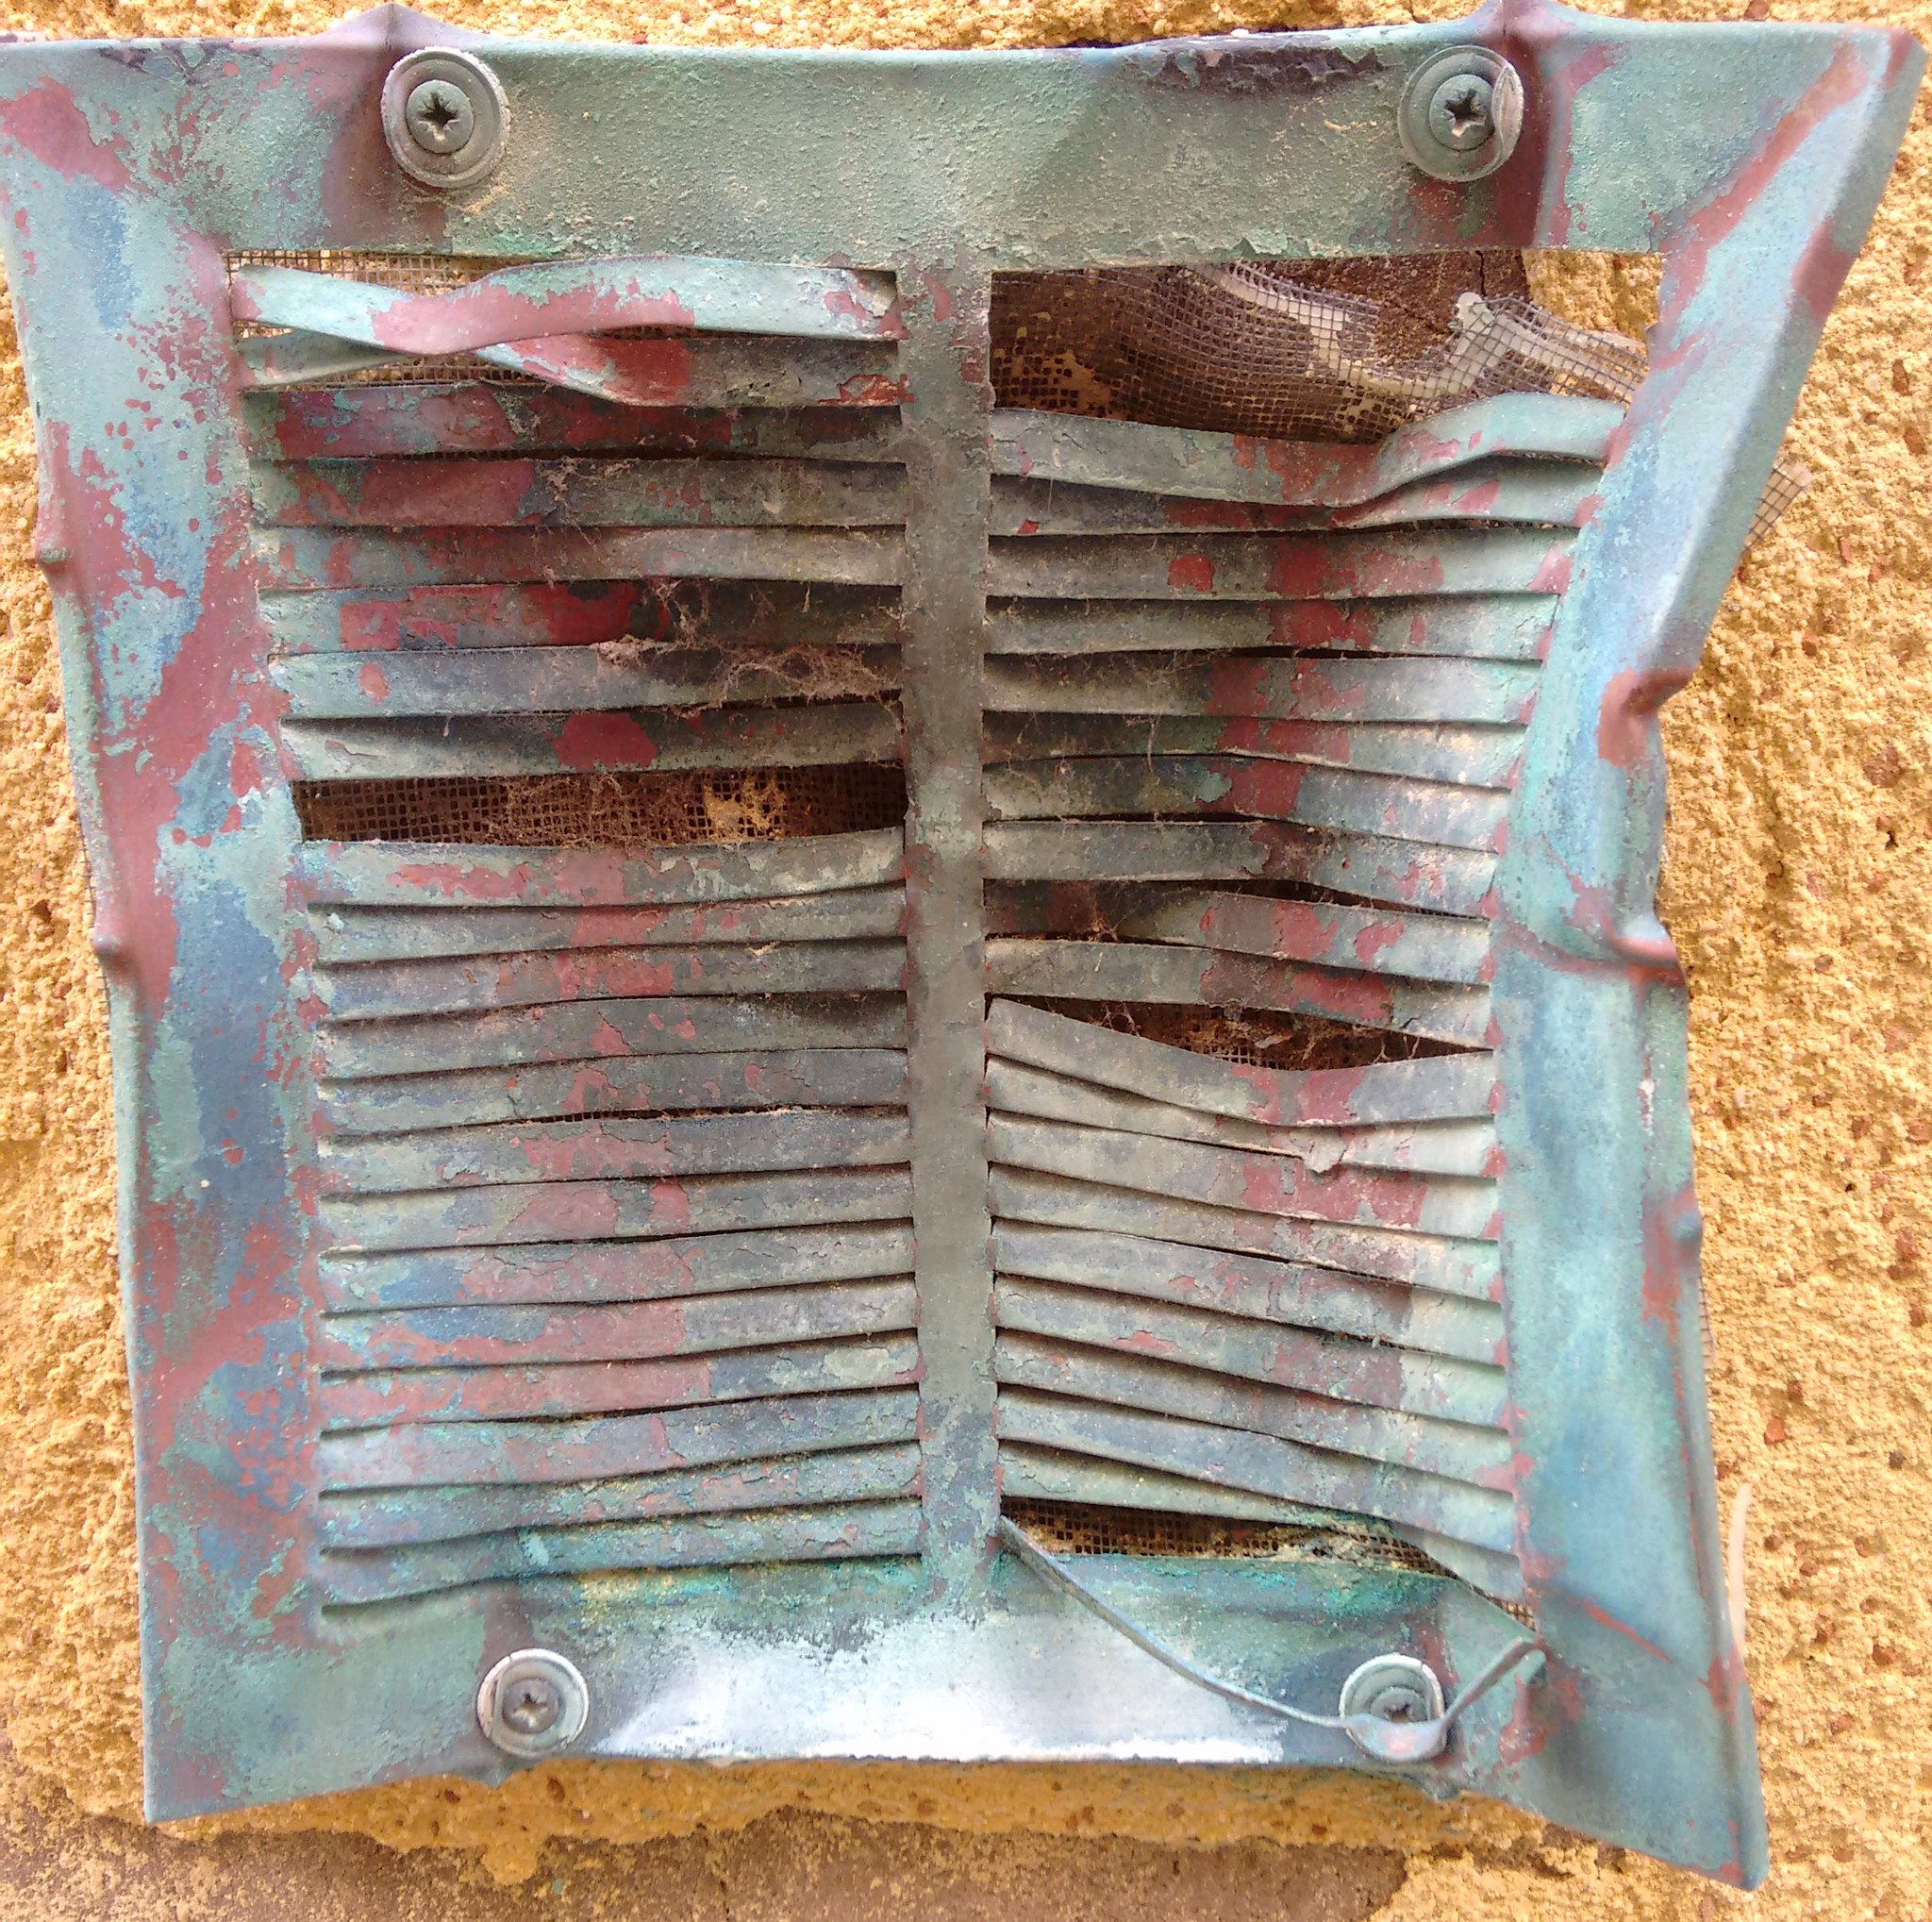 |
| On this copper grill, the blue area is the corroded one |
Anyway I'm pretty sure that you had in your neighborhood that one car always parked under the stars, that after countless seasons have been literally bleached by the sunlight and stained by rain.
In this case the fading depends on the radiation normally absorbed by the surface that, time after time, speed up the natural oxidation/deterioration of the pigments.
On top of this, rain adds another element at the equation since, even in a mildly polluted environment, a small acidic component in the water further increase the oxidation.
Luckily all these effects can be replicated with the proper amount of patience
 |
| Maybe a bit "too" rusty |
The is vital for the overall schema since the rust will vastly pop through the overlapping layers.
A simple red brown simply wont be enought. Sure, we could just paint some detailed weathering at the end but it will be much more time consuming and with a less logical pattern.
Having zero detail to care of, we can concentrate on the overall degradation of the color.
 |
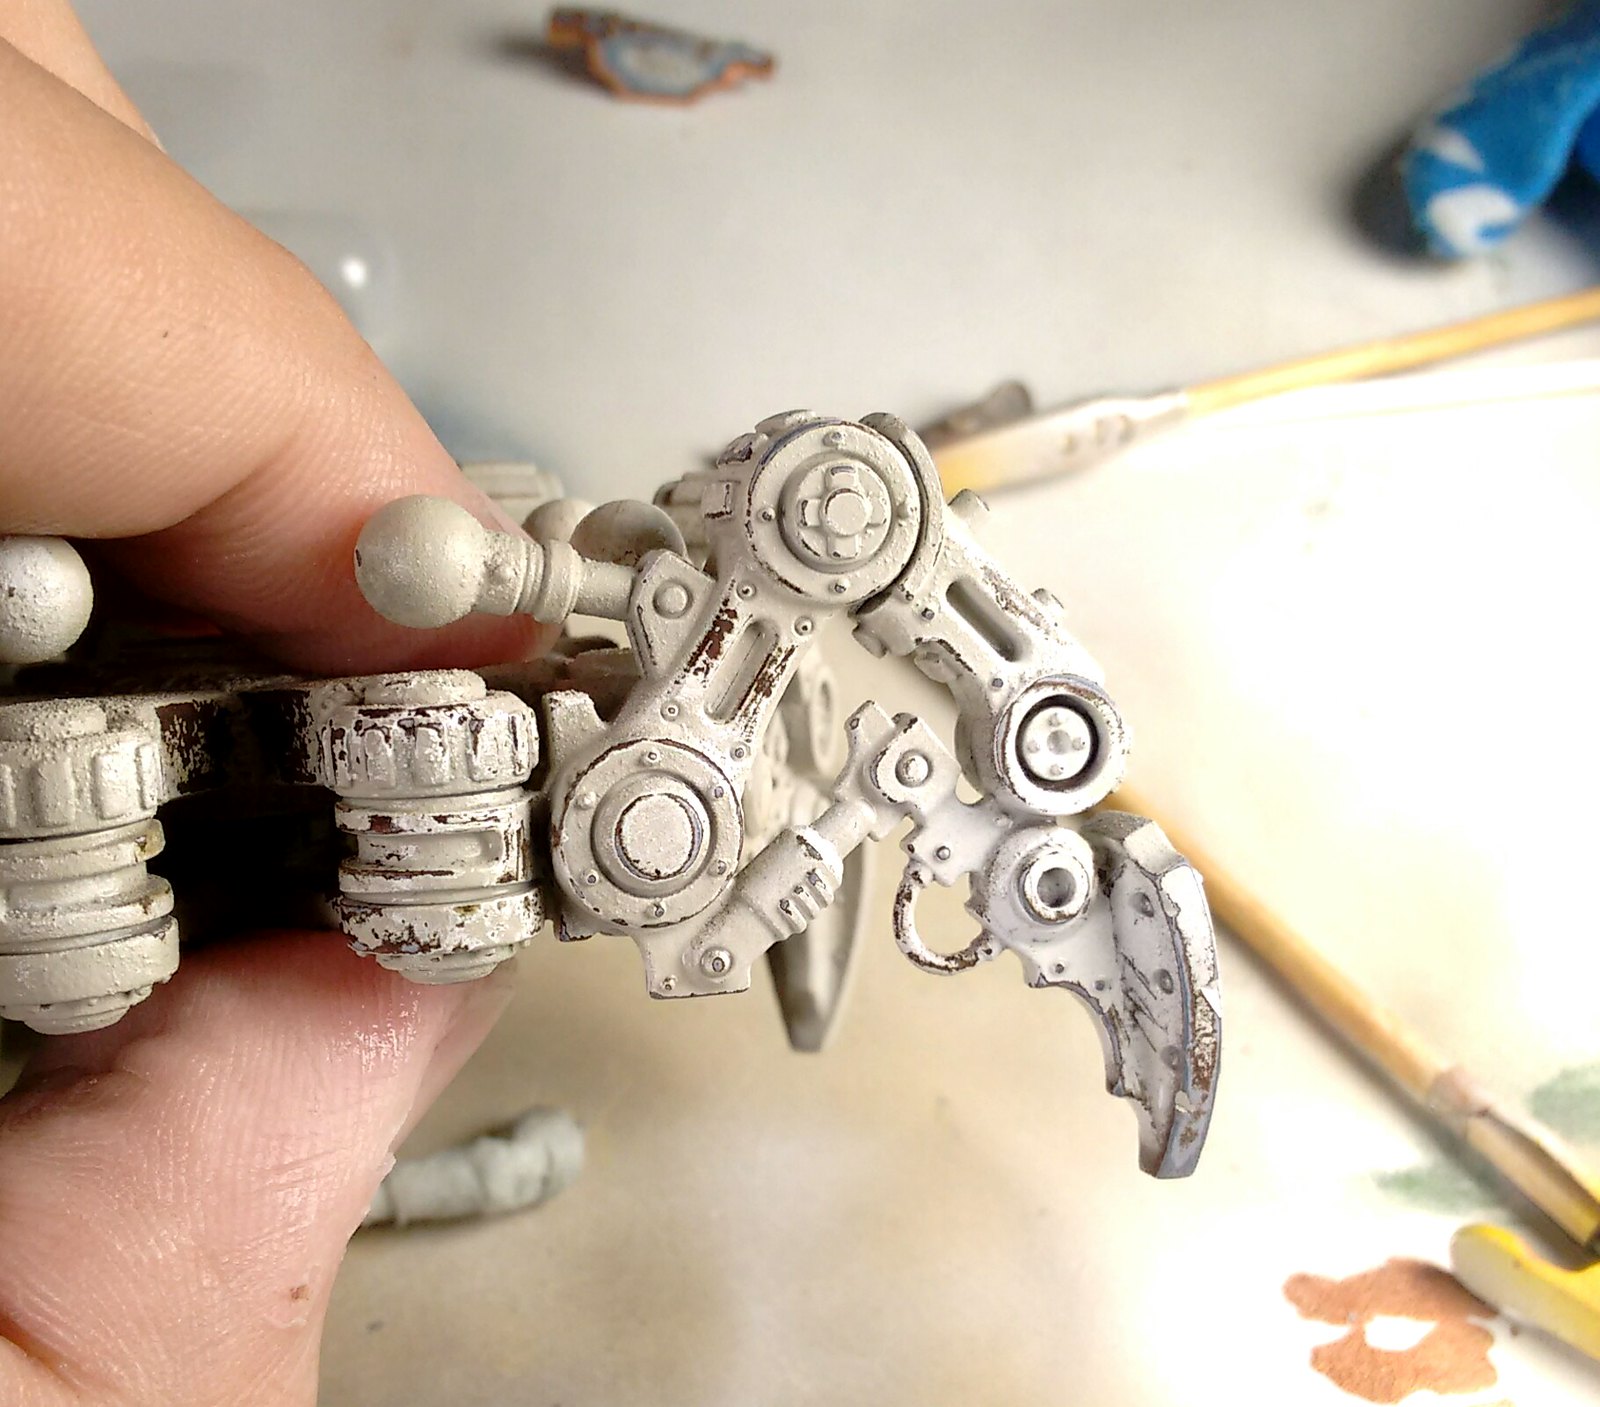
| The "leg-sprocket" will be understandably the most worn out piece |
The dull coat will made the rust layer extremely resilient, but will also "drown" and flat down the pigment.
 |
| Even on small pieces the rusty tone is fairy rich |
The tecnique is quite straigh-forward and there's plenty of tutorial far more detailed than I will ever be, so let's be quick:
- primer (any color)
- flat brow basecoat (Tamiya XF12)
- hairspry chipped hull red (Tamiya XF9)
- hairspry chipped red (Tamiya XF7)
- hairspry chipped yellow (Tamiya XF3)
To add a bit of complexity use a different amount of hairspry and different brushes per layer. In this way the chipping will be more erratic (harder brush will "scratch" the surface while more hairspry will resul in bigger chunks)
After the protective layer of dull coat, leave the paint cure for 24/48 hours.
 |
| The legs are probably the most time consuming part of the model |
The master of this tecnique is probably John Tolcher (google some of its work and feast your eyes) and basically replicate the bleaching paint desaturating the main color with underlaying layers of lighter tints gently brushed with a "mild thinner" made of diluted Windex/Glassex (or similar glass cleaning product).
The amazing part of this tecnique is that is highly precise and controllable (when in doubt, just dilute more). Furthermore, since you're "removing" paint, you can always correct a mistake just by repainting the surface.
The drawback is simple: time.
Every single tiny scratch you see on the final product is the result of multiple strokes.
If the hairspry tecniqe is something similar to drybrushing (you control an effect, more than actually "painting" something), the windex fading is closer to wet-blending.
 |
| The moving legs add a further level of cussing |
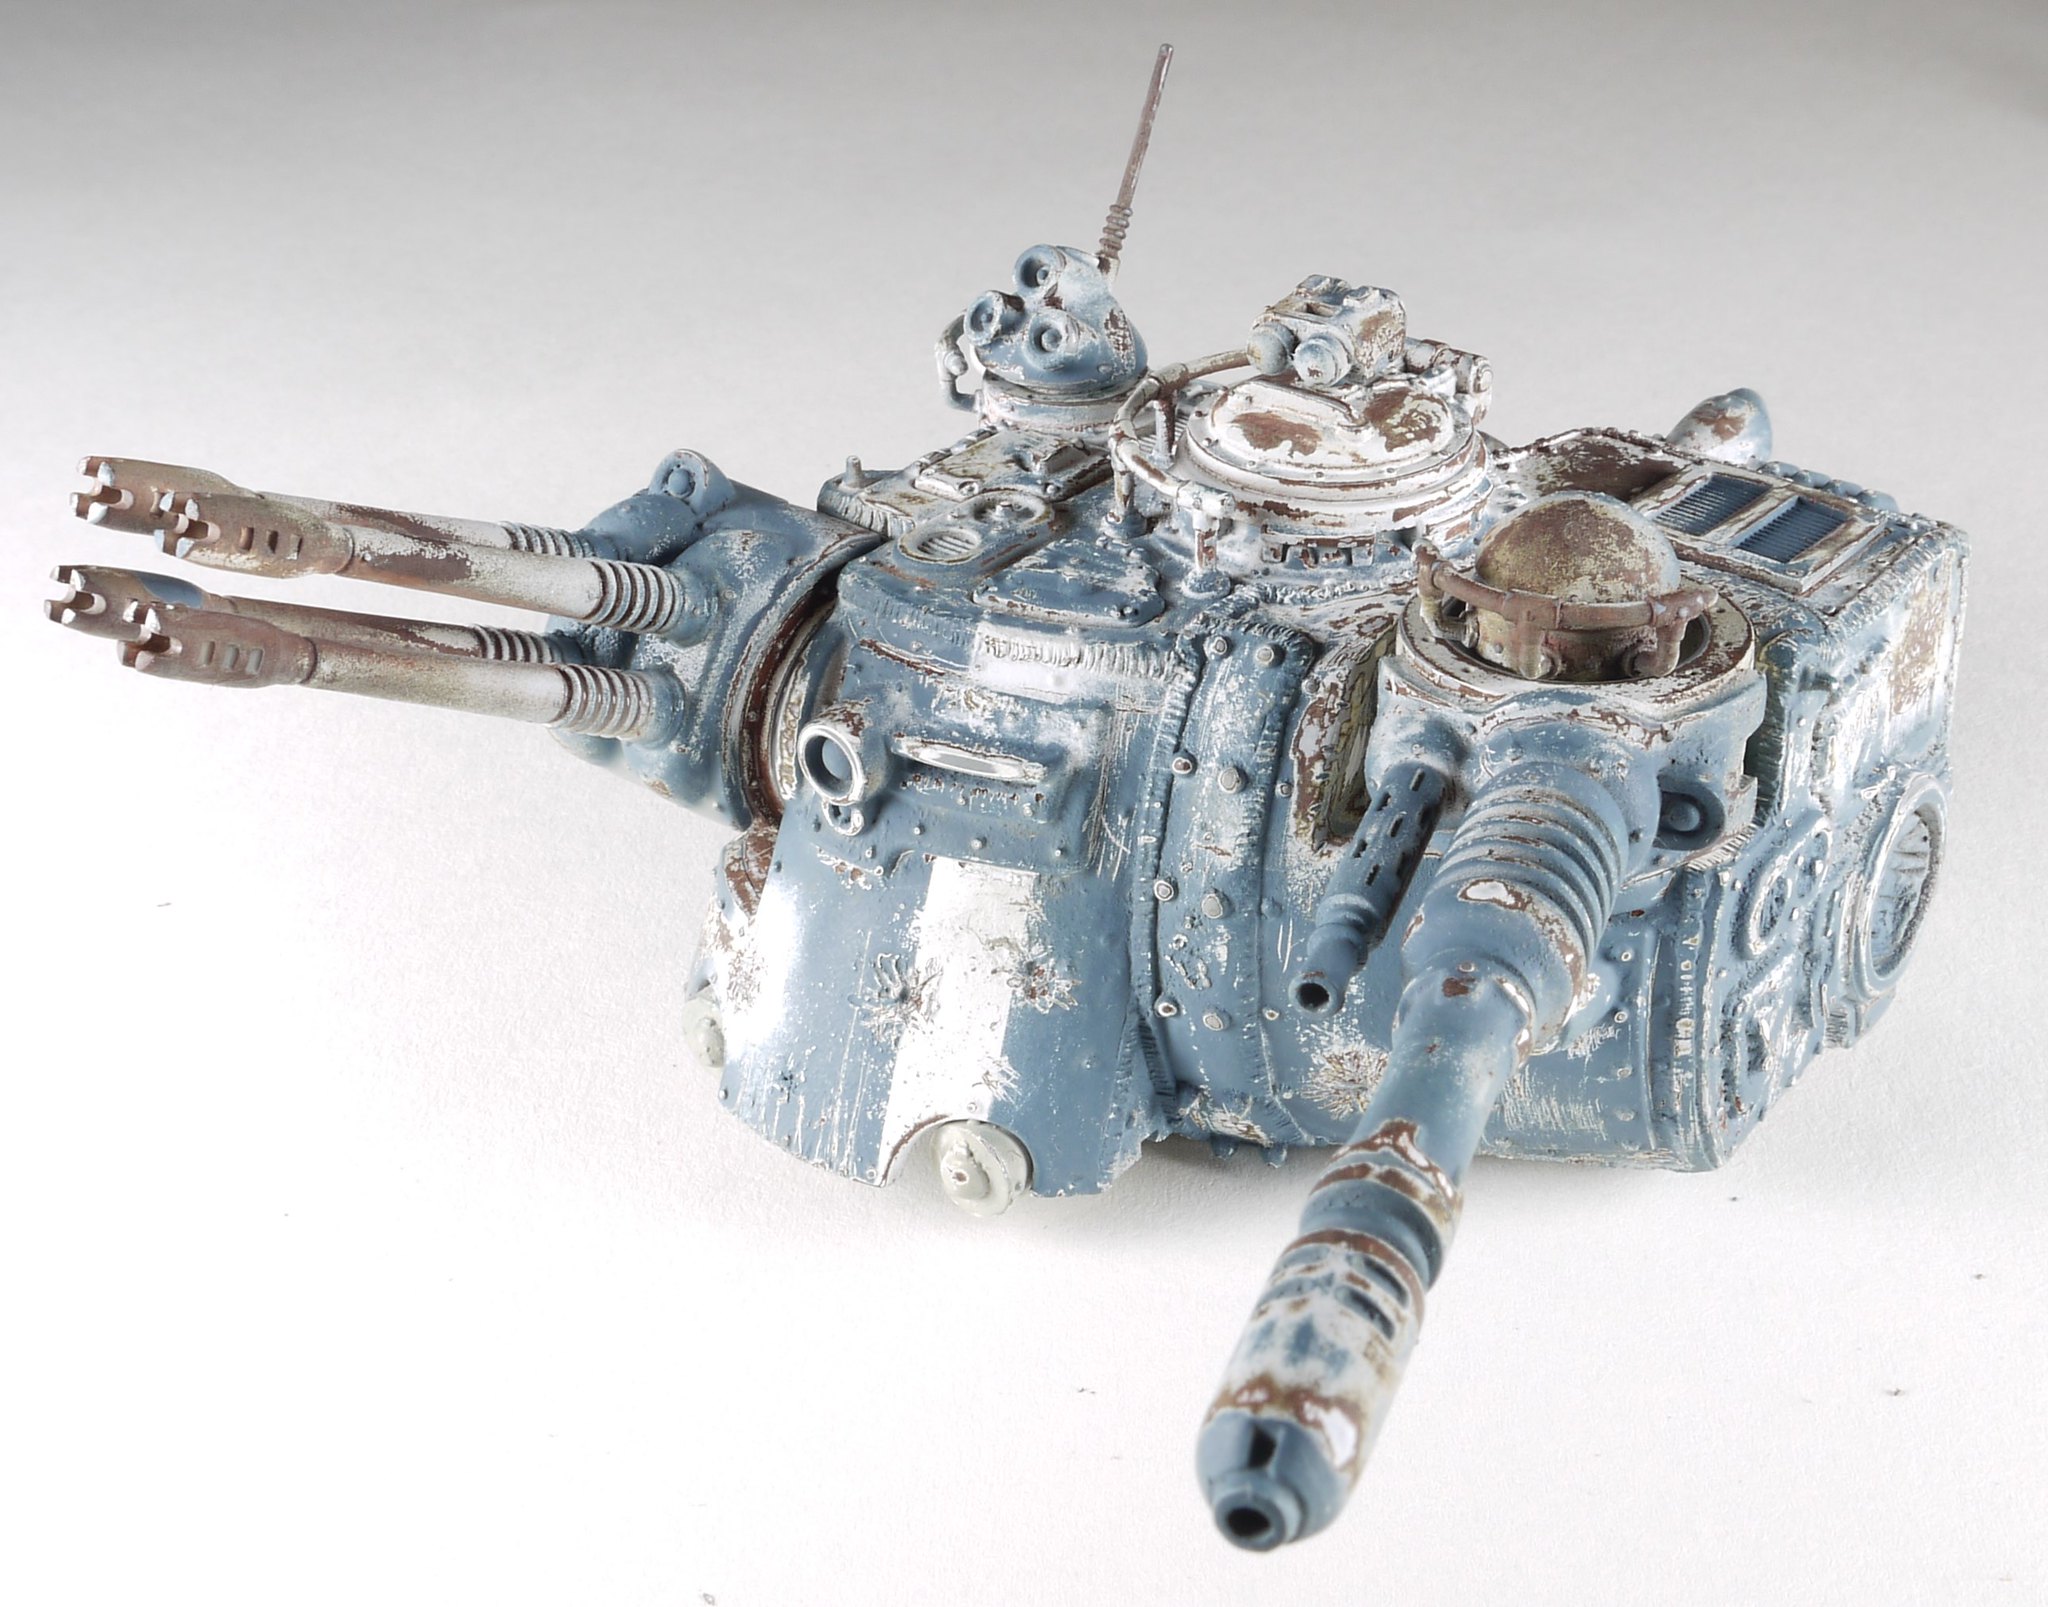
The only marking, other than the AdMech cogwheels, will be a simple white(XF2) stripe.
The two color layers used for the fading are desert yellow (XF59) and white (XF2).
 |
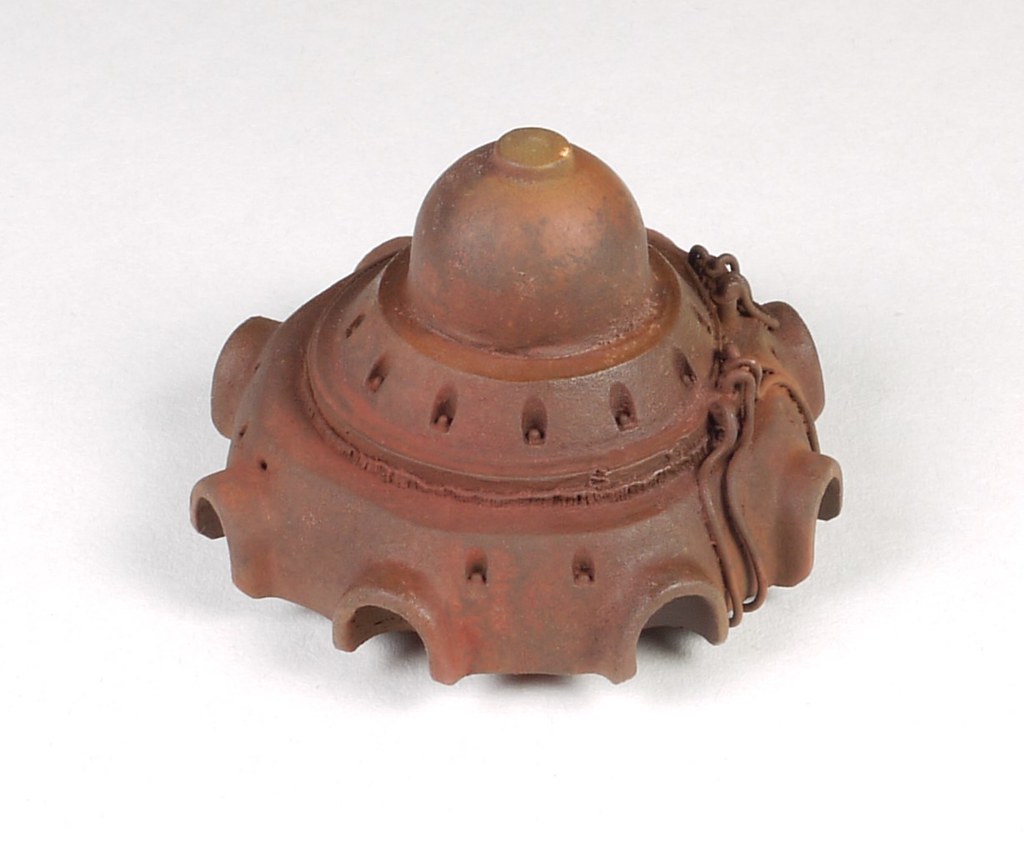
| For now, just a colossal Kinder Surprise toy... |
You can use small pieces of high grain sand paper (1200) to helps you in the bigger surfaces, and toothpicks for the recesses, but mostly it's just "damp, brush the surface, check, rinse, repeat"
I can positively say that, for me, this phase had exceed the boredom normally caused by "putty and sandpaper".
Sincerily I doubted it were remotely possible,
 |
| The result is, nevertheless, quite impressive |
The Windex tecnique extends the simple "paint chipping" normally achievable with the hairspry because it allows to "dig" through different layer in a realistic way and in just one transition.
For a similar effect, the hairspry need to be paired with the salt and the result is far less controllable.
 |
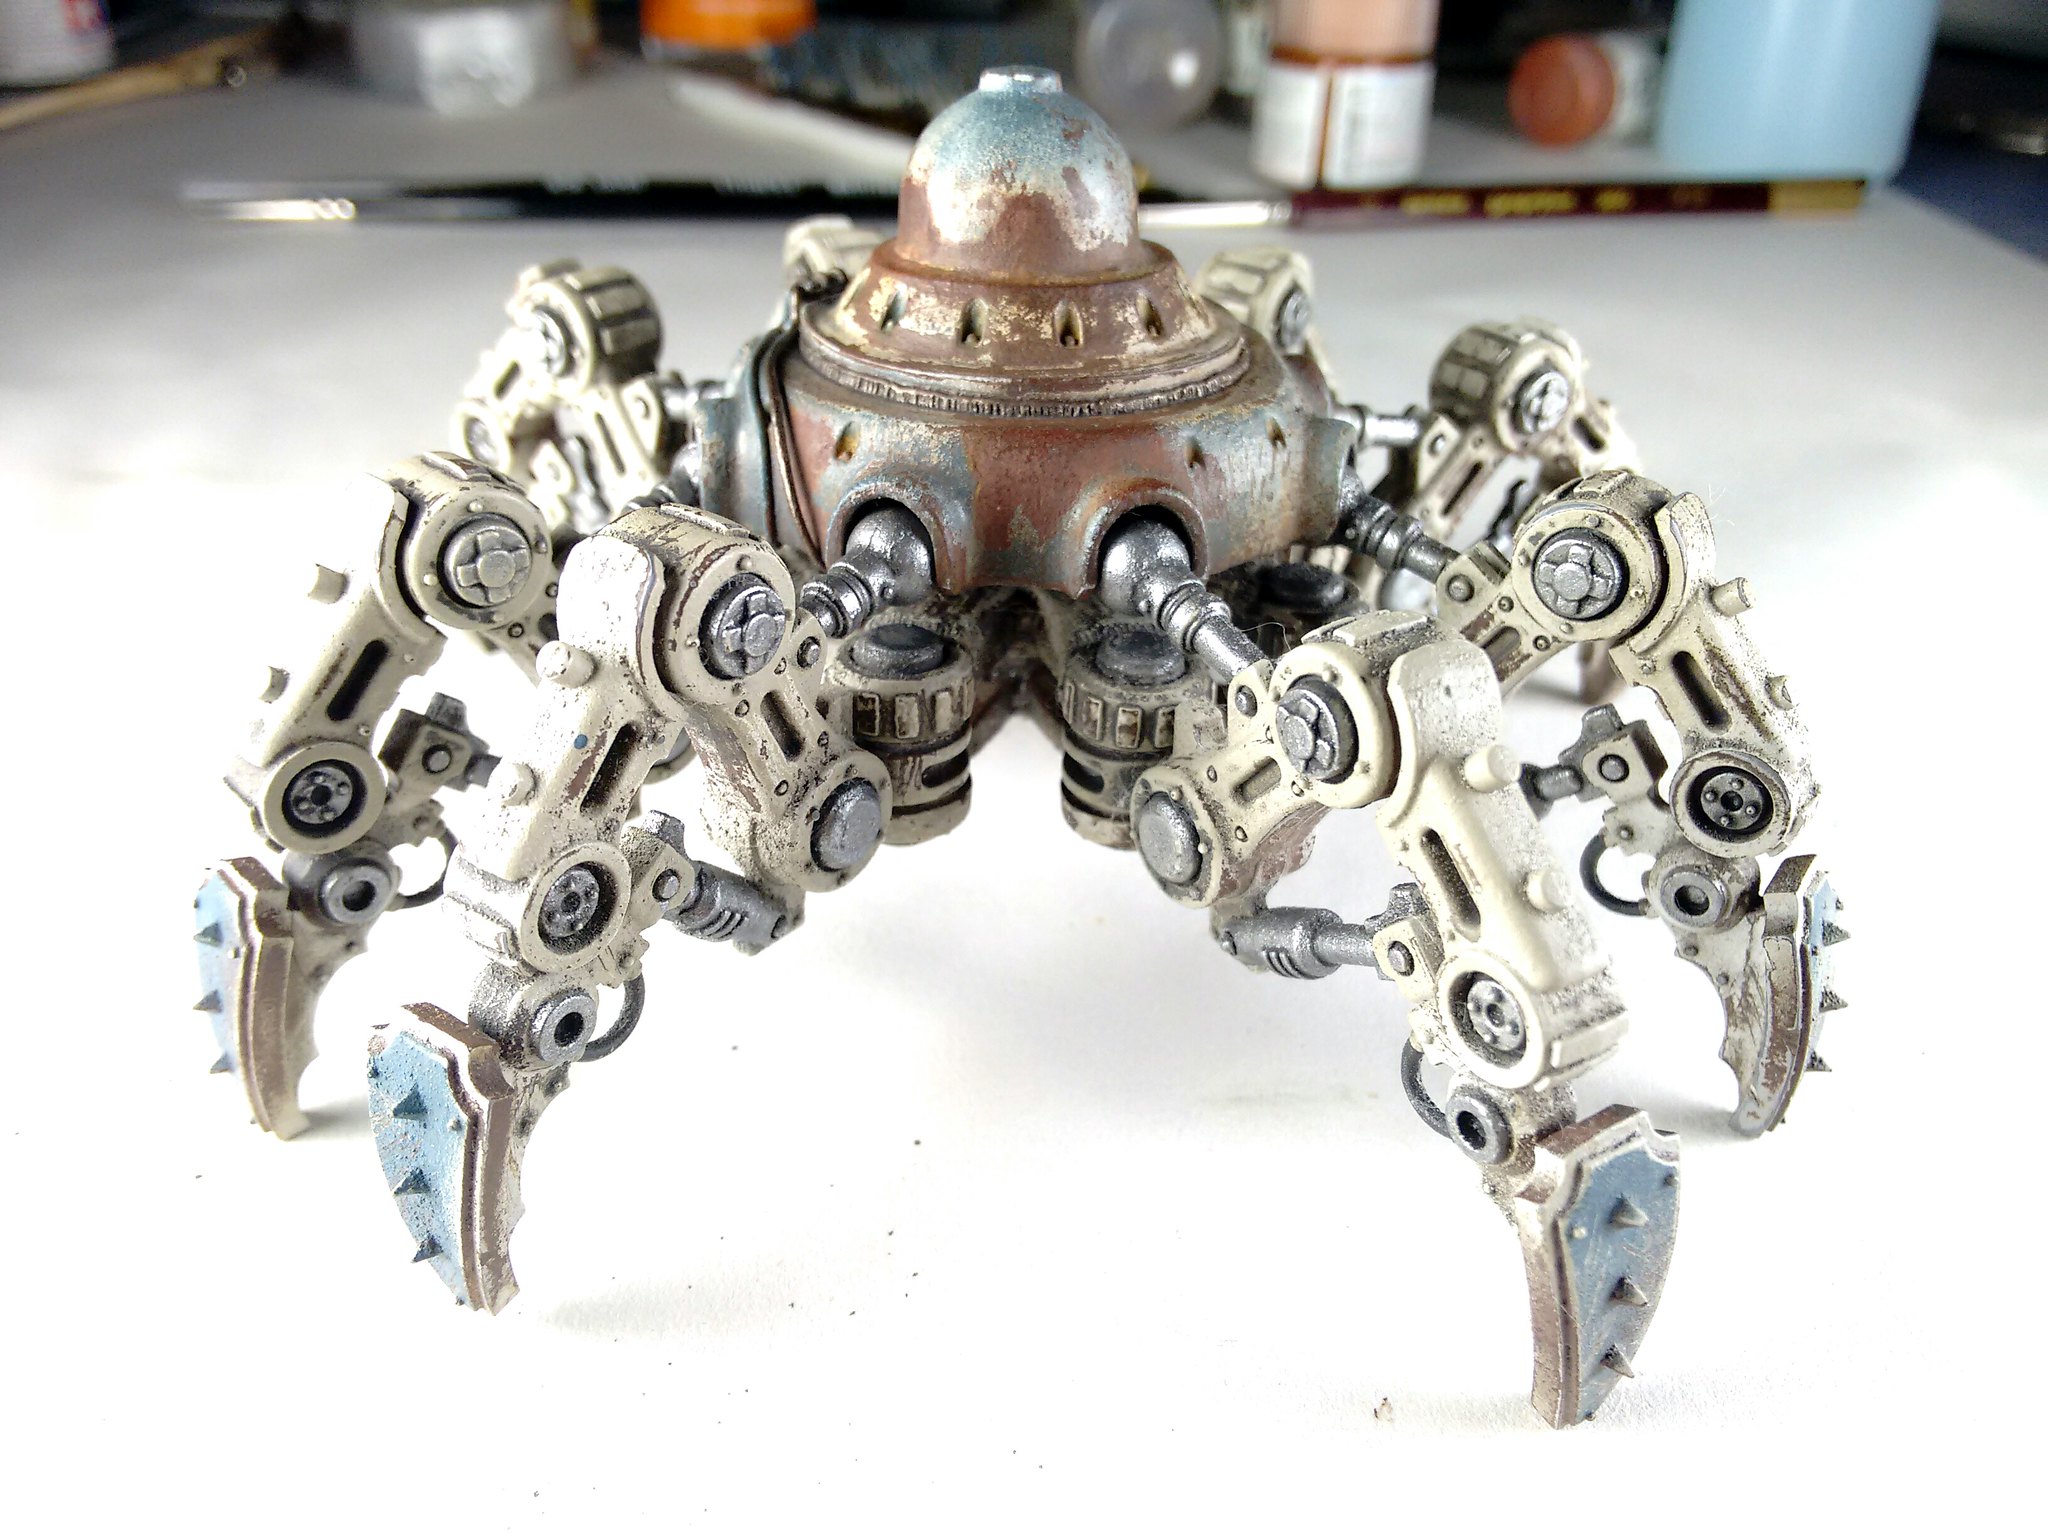
| After the legs, the hull was like a walk in the park |
 |
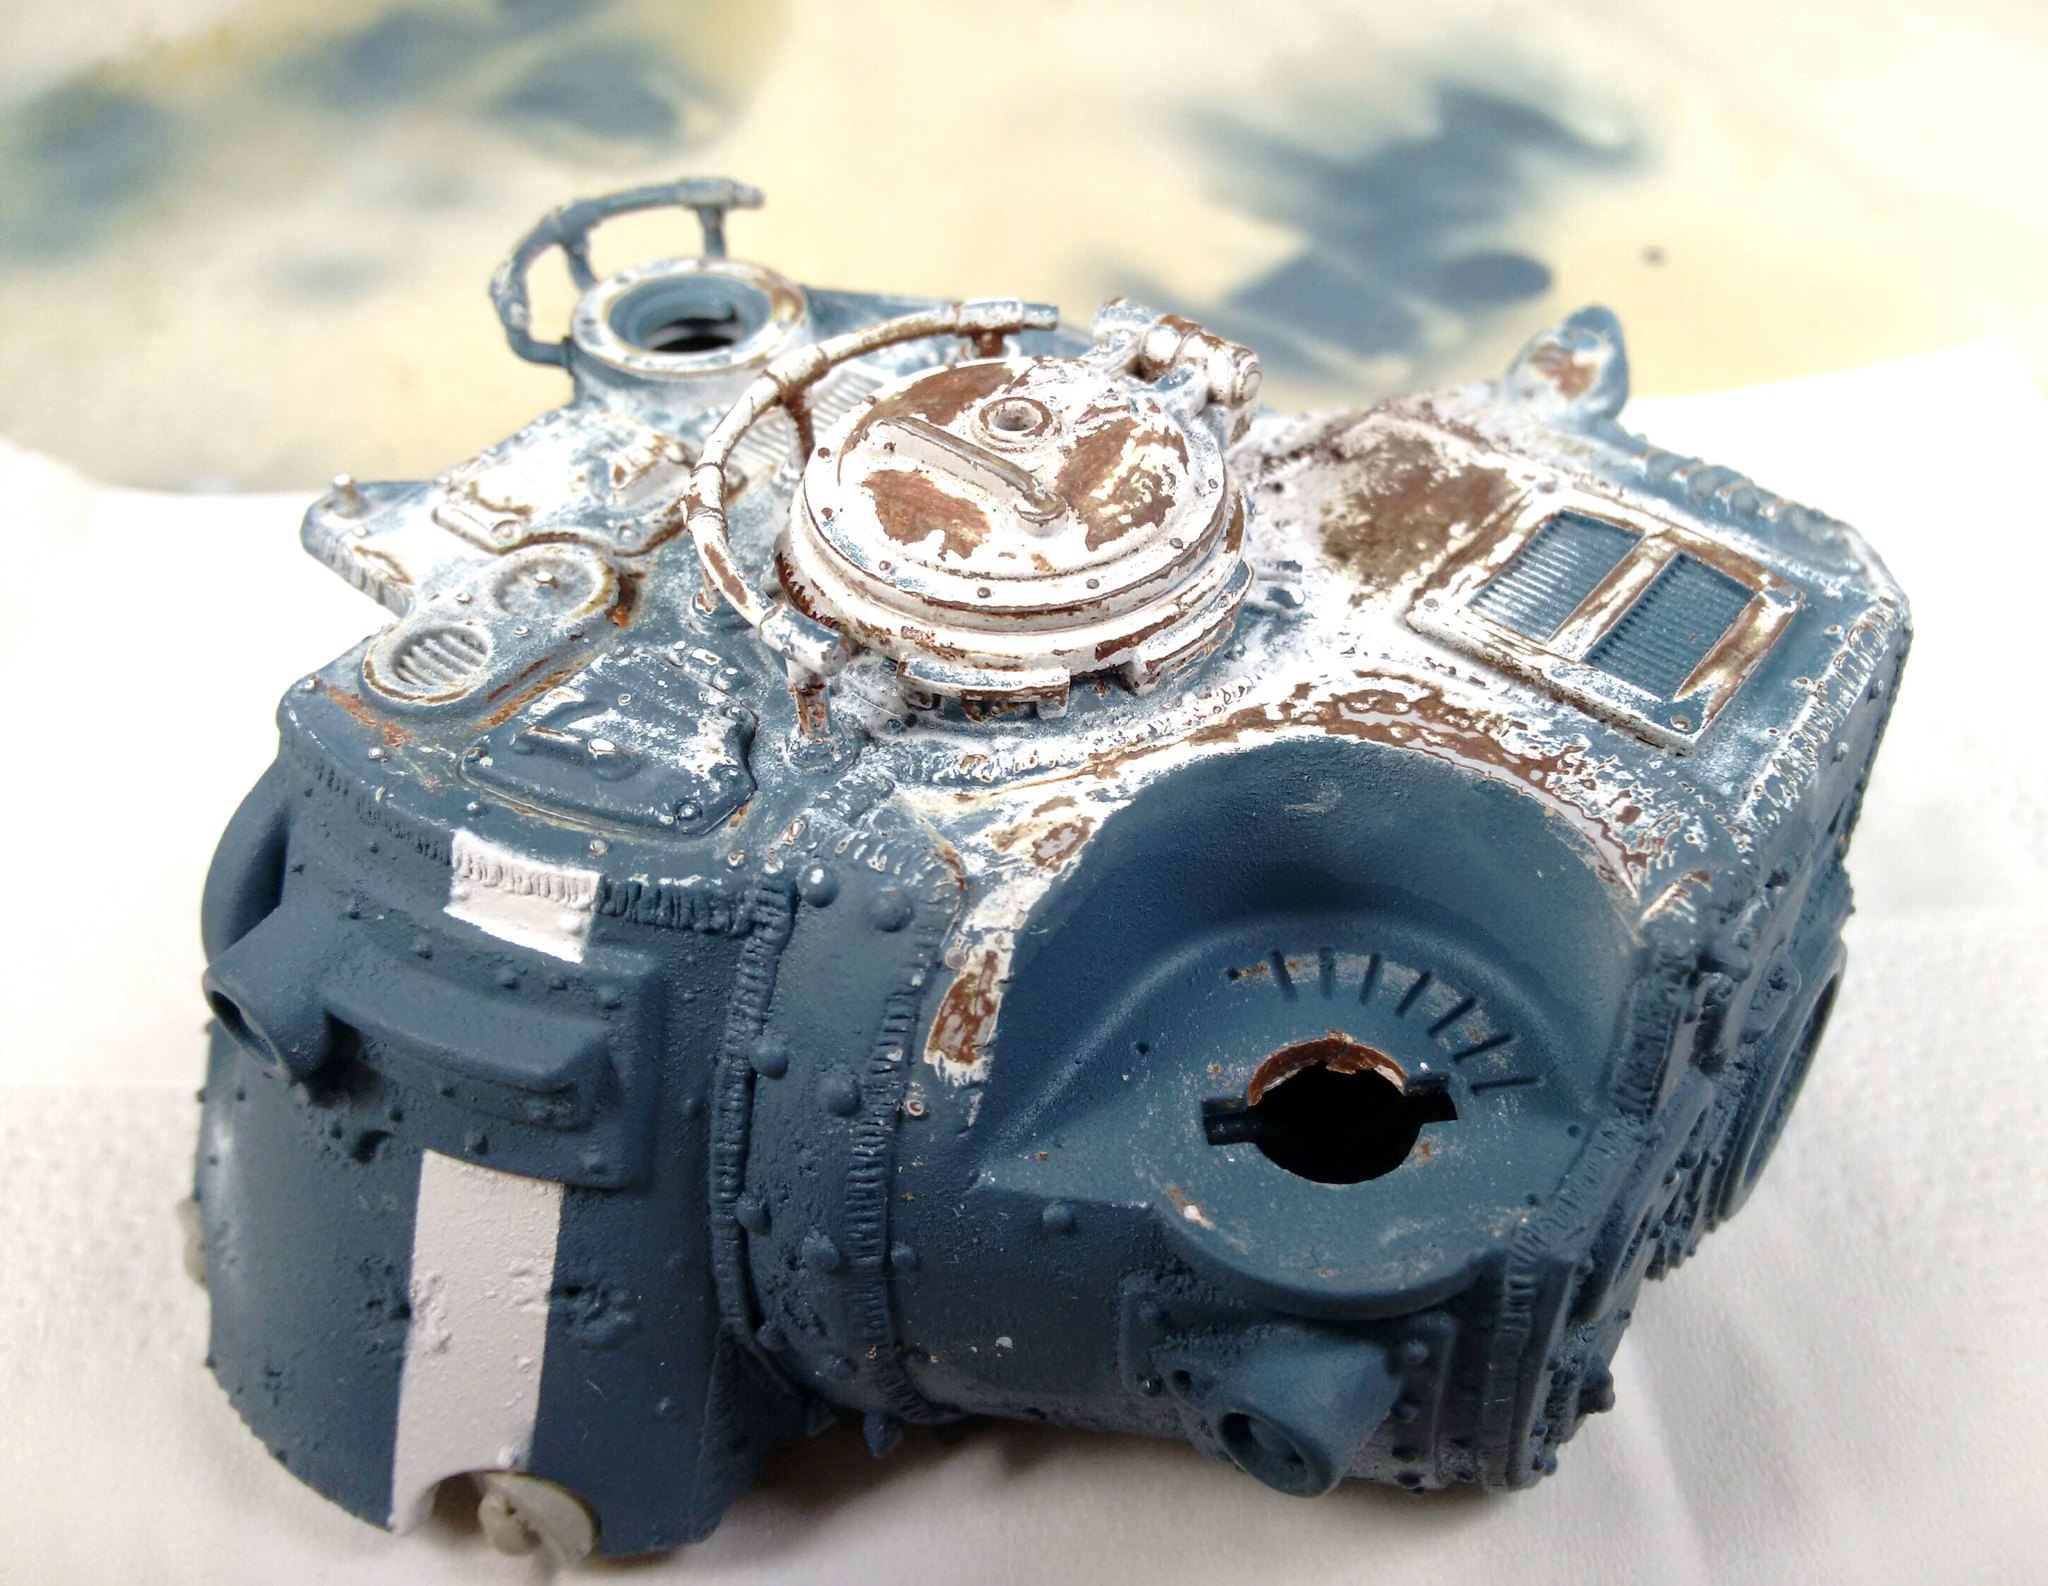
| The desaturation of the tint is clearly visible |
 |
| Still steady on the IBS |
We're going to fix this soon.
 |
| One of the leg shields show the first test for the copper trim |
As always, if you like to work with lots of detached pieces like I do, check the overall aspect from time to time. We want an ancient unstoppable gear of war. Not a patchwork of weathering tecniques.
 |
| Yes, the feet were boring to do as they look |
A thin wash of dark blue will rebuild the overall lost contrast.
Then a regular pinpoint with a dark grey/brown wash will help to pop out the details.
Once dried we can perfect the chipping effect outlining some borders with a dark grey and/or dark brown.
Oh, and clearly we can kick some further tones to the rusty exposed parts.
 |
| As you can see the rust is back in action |
Details, details, details.
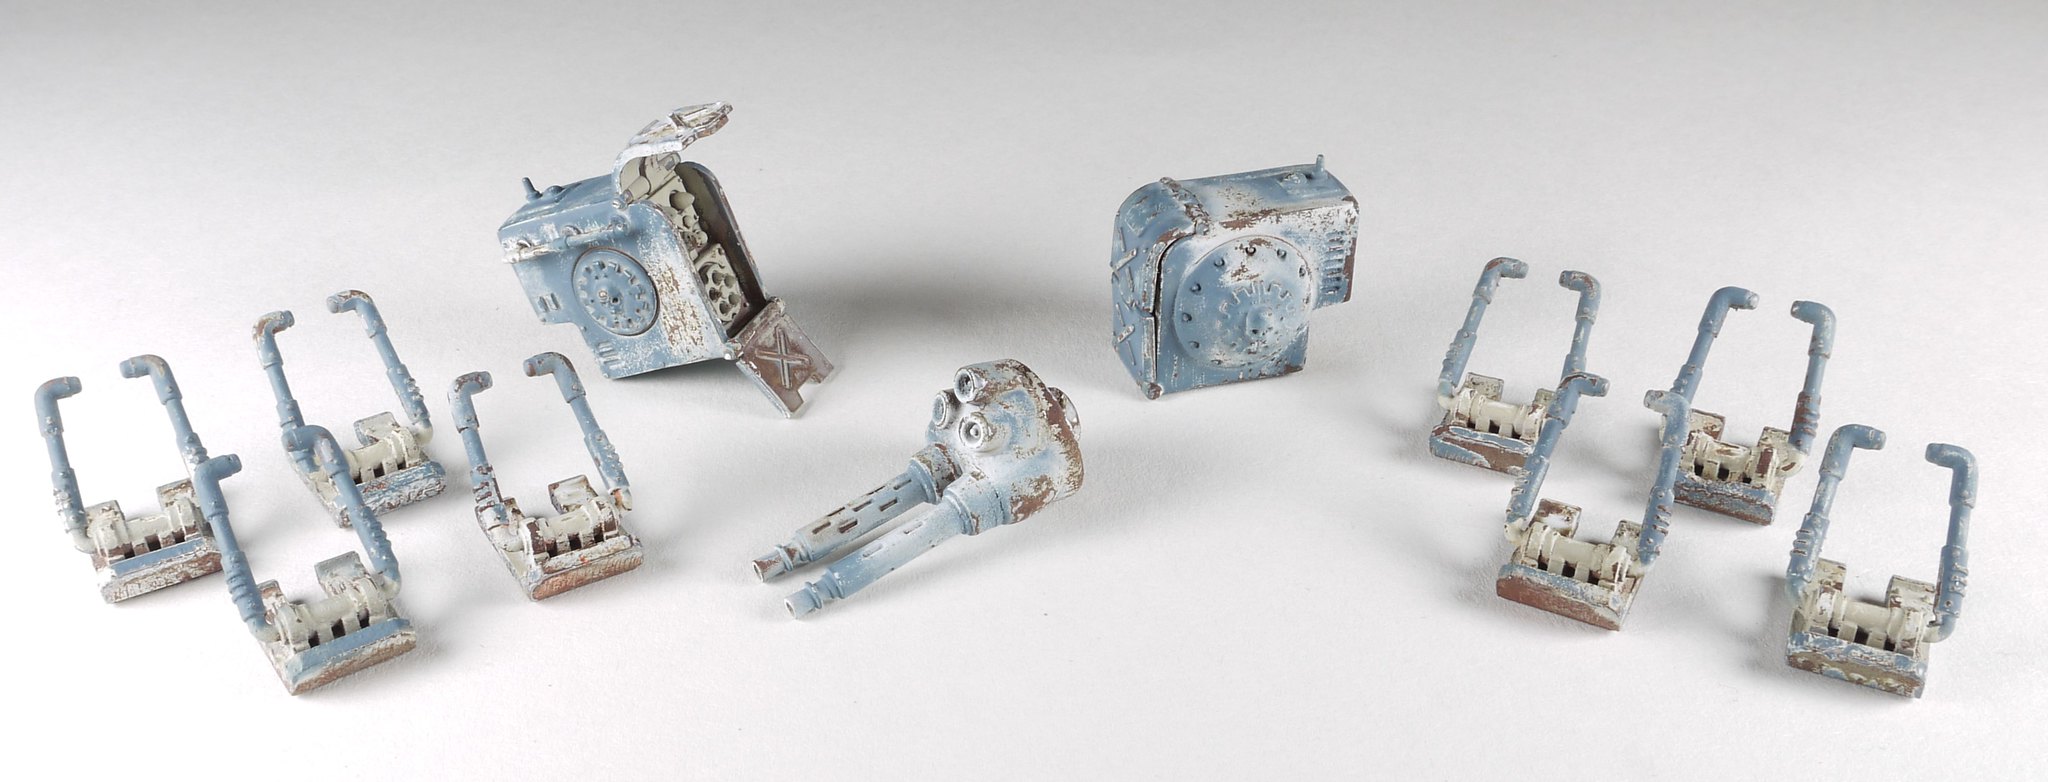
Needless to say, the legs are back on the menu with tons of actuators, pistons and rivets eager to be painted.
Luckily, after the endless fading, everything else looks like a popsicle in the desert.
 |
| grease and oil stains add life to the old beast |
Normally they are painted in gold, but for the blue schema, copper was a much more interesting choice.
Copper oxidizes covering with a green/blue patina, and this effect can be easily achieved with a little bit of properly mixed pigments.
The result breaks the monotony of the simple two color schema.
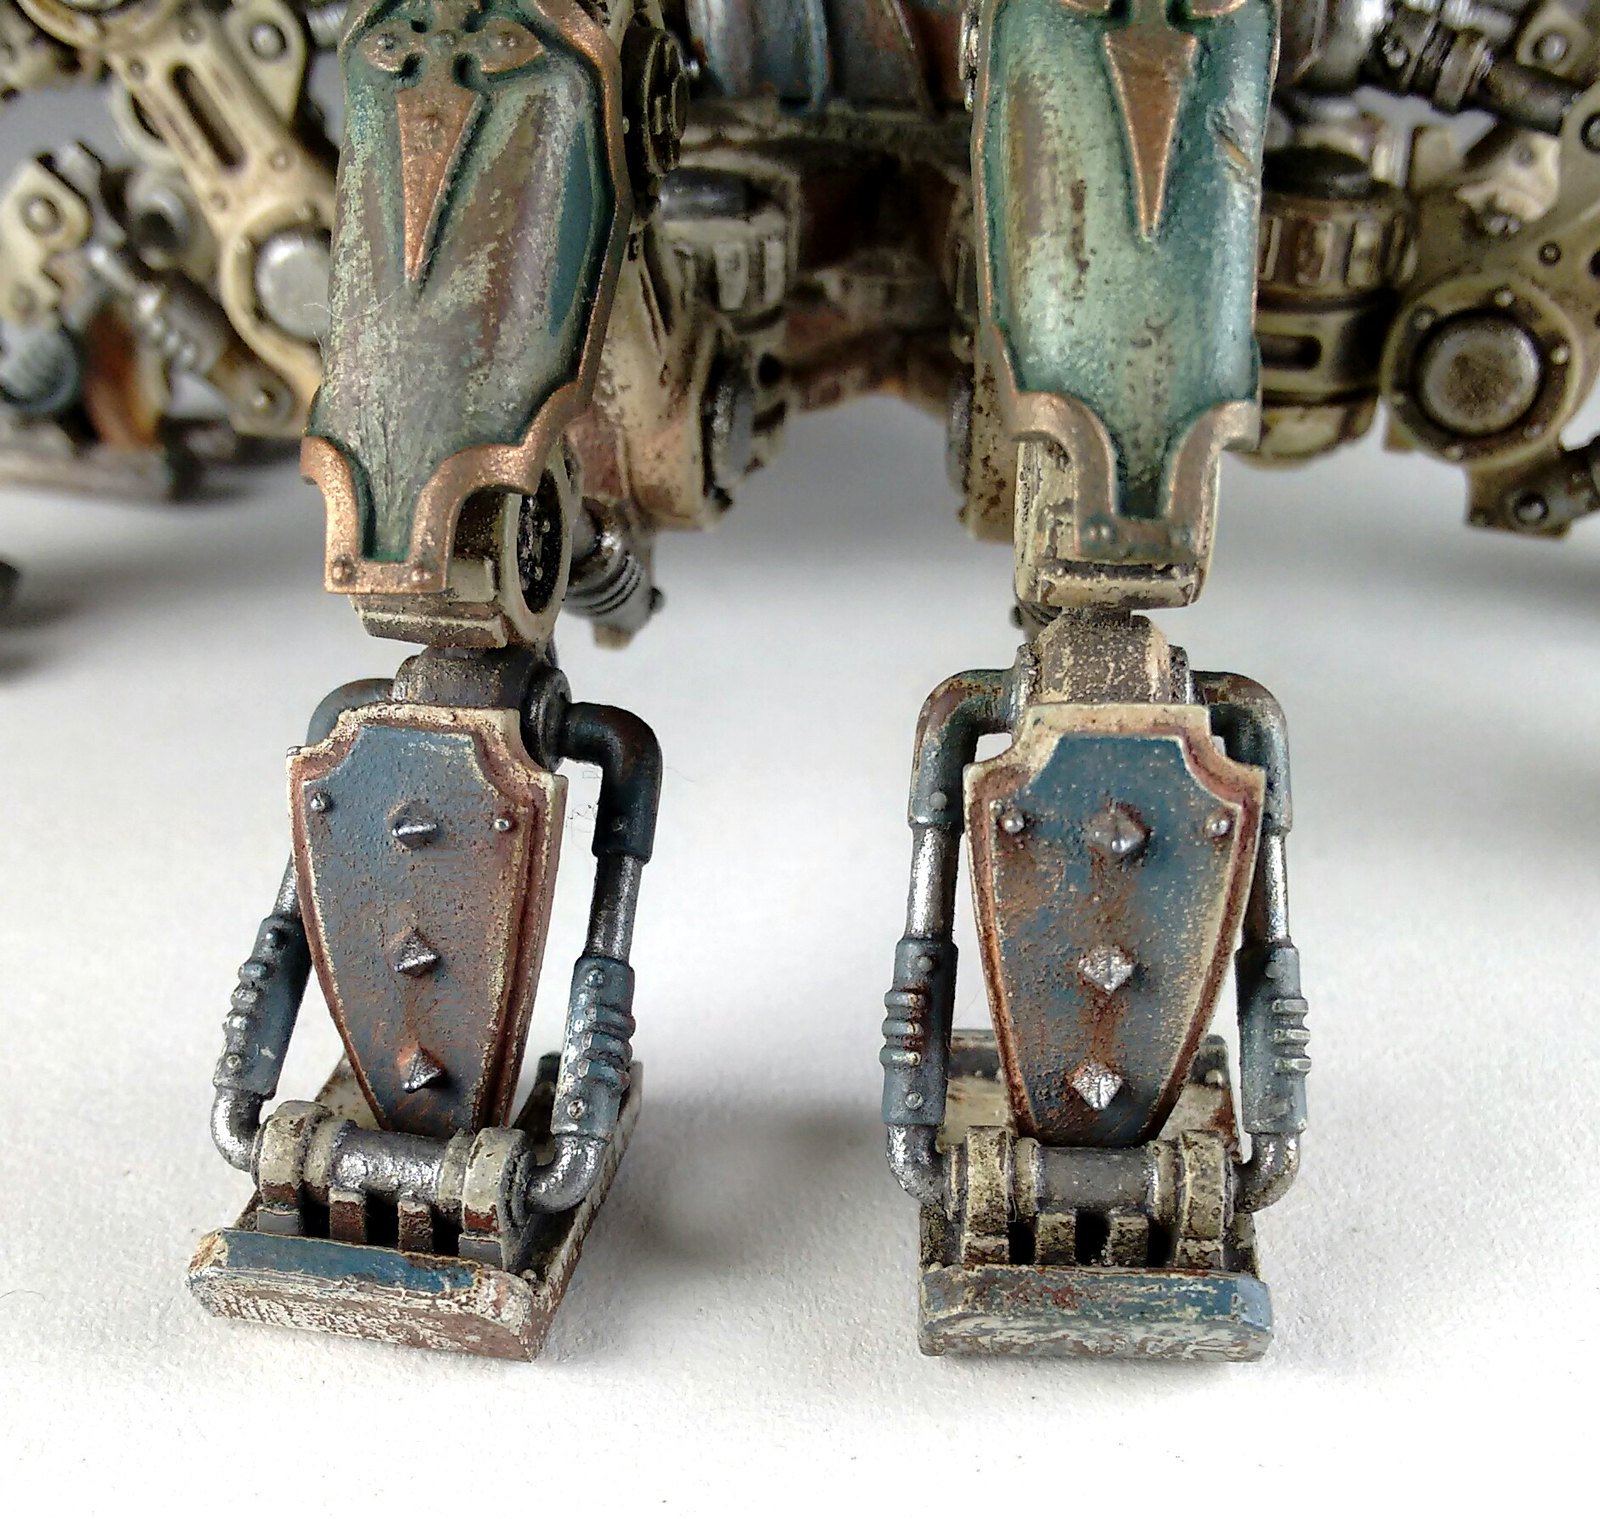 |
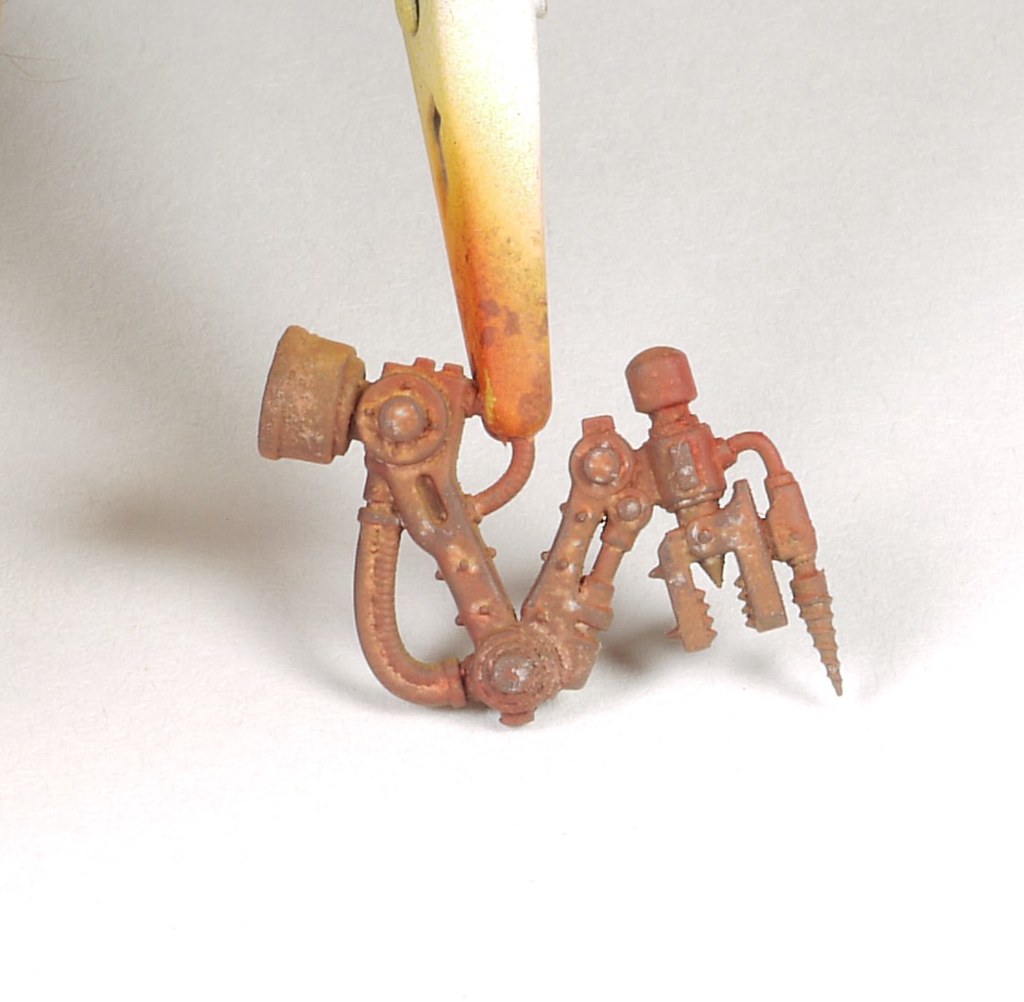
| The claws are perfect for some rust streaking |
Now the final bits.
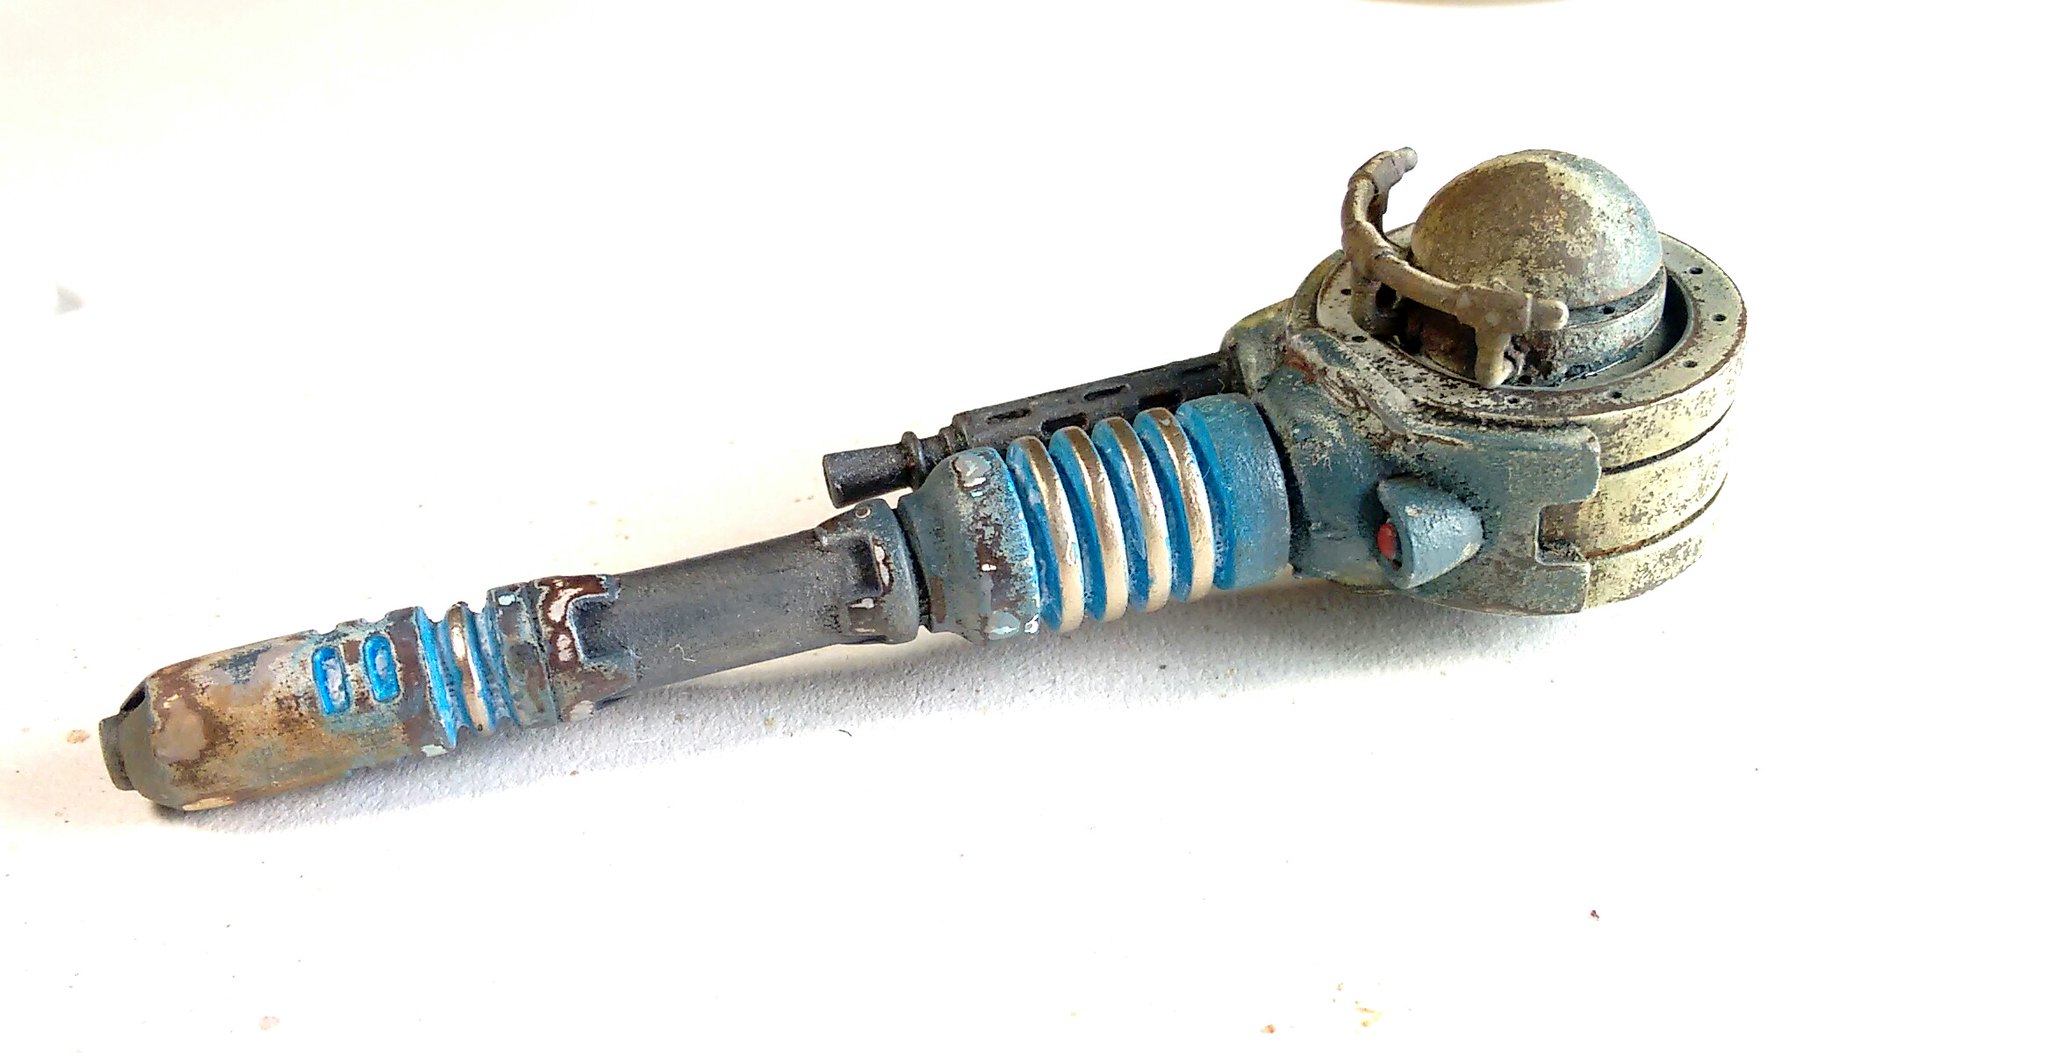
Its an old machine, but we want to show that under those rusty look the beast is far from being dormant.
This will be achieved with some shiny bits on the weapons that will suggest that all the payload is lock and loaded.
The tip of the rockets, the four barrels of the AA gun and so on.
As for the paint schema, we just have to be subtle.
 |
| The glowing blue/silver reminds the blue/white schema |
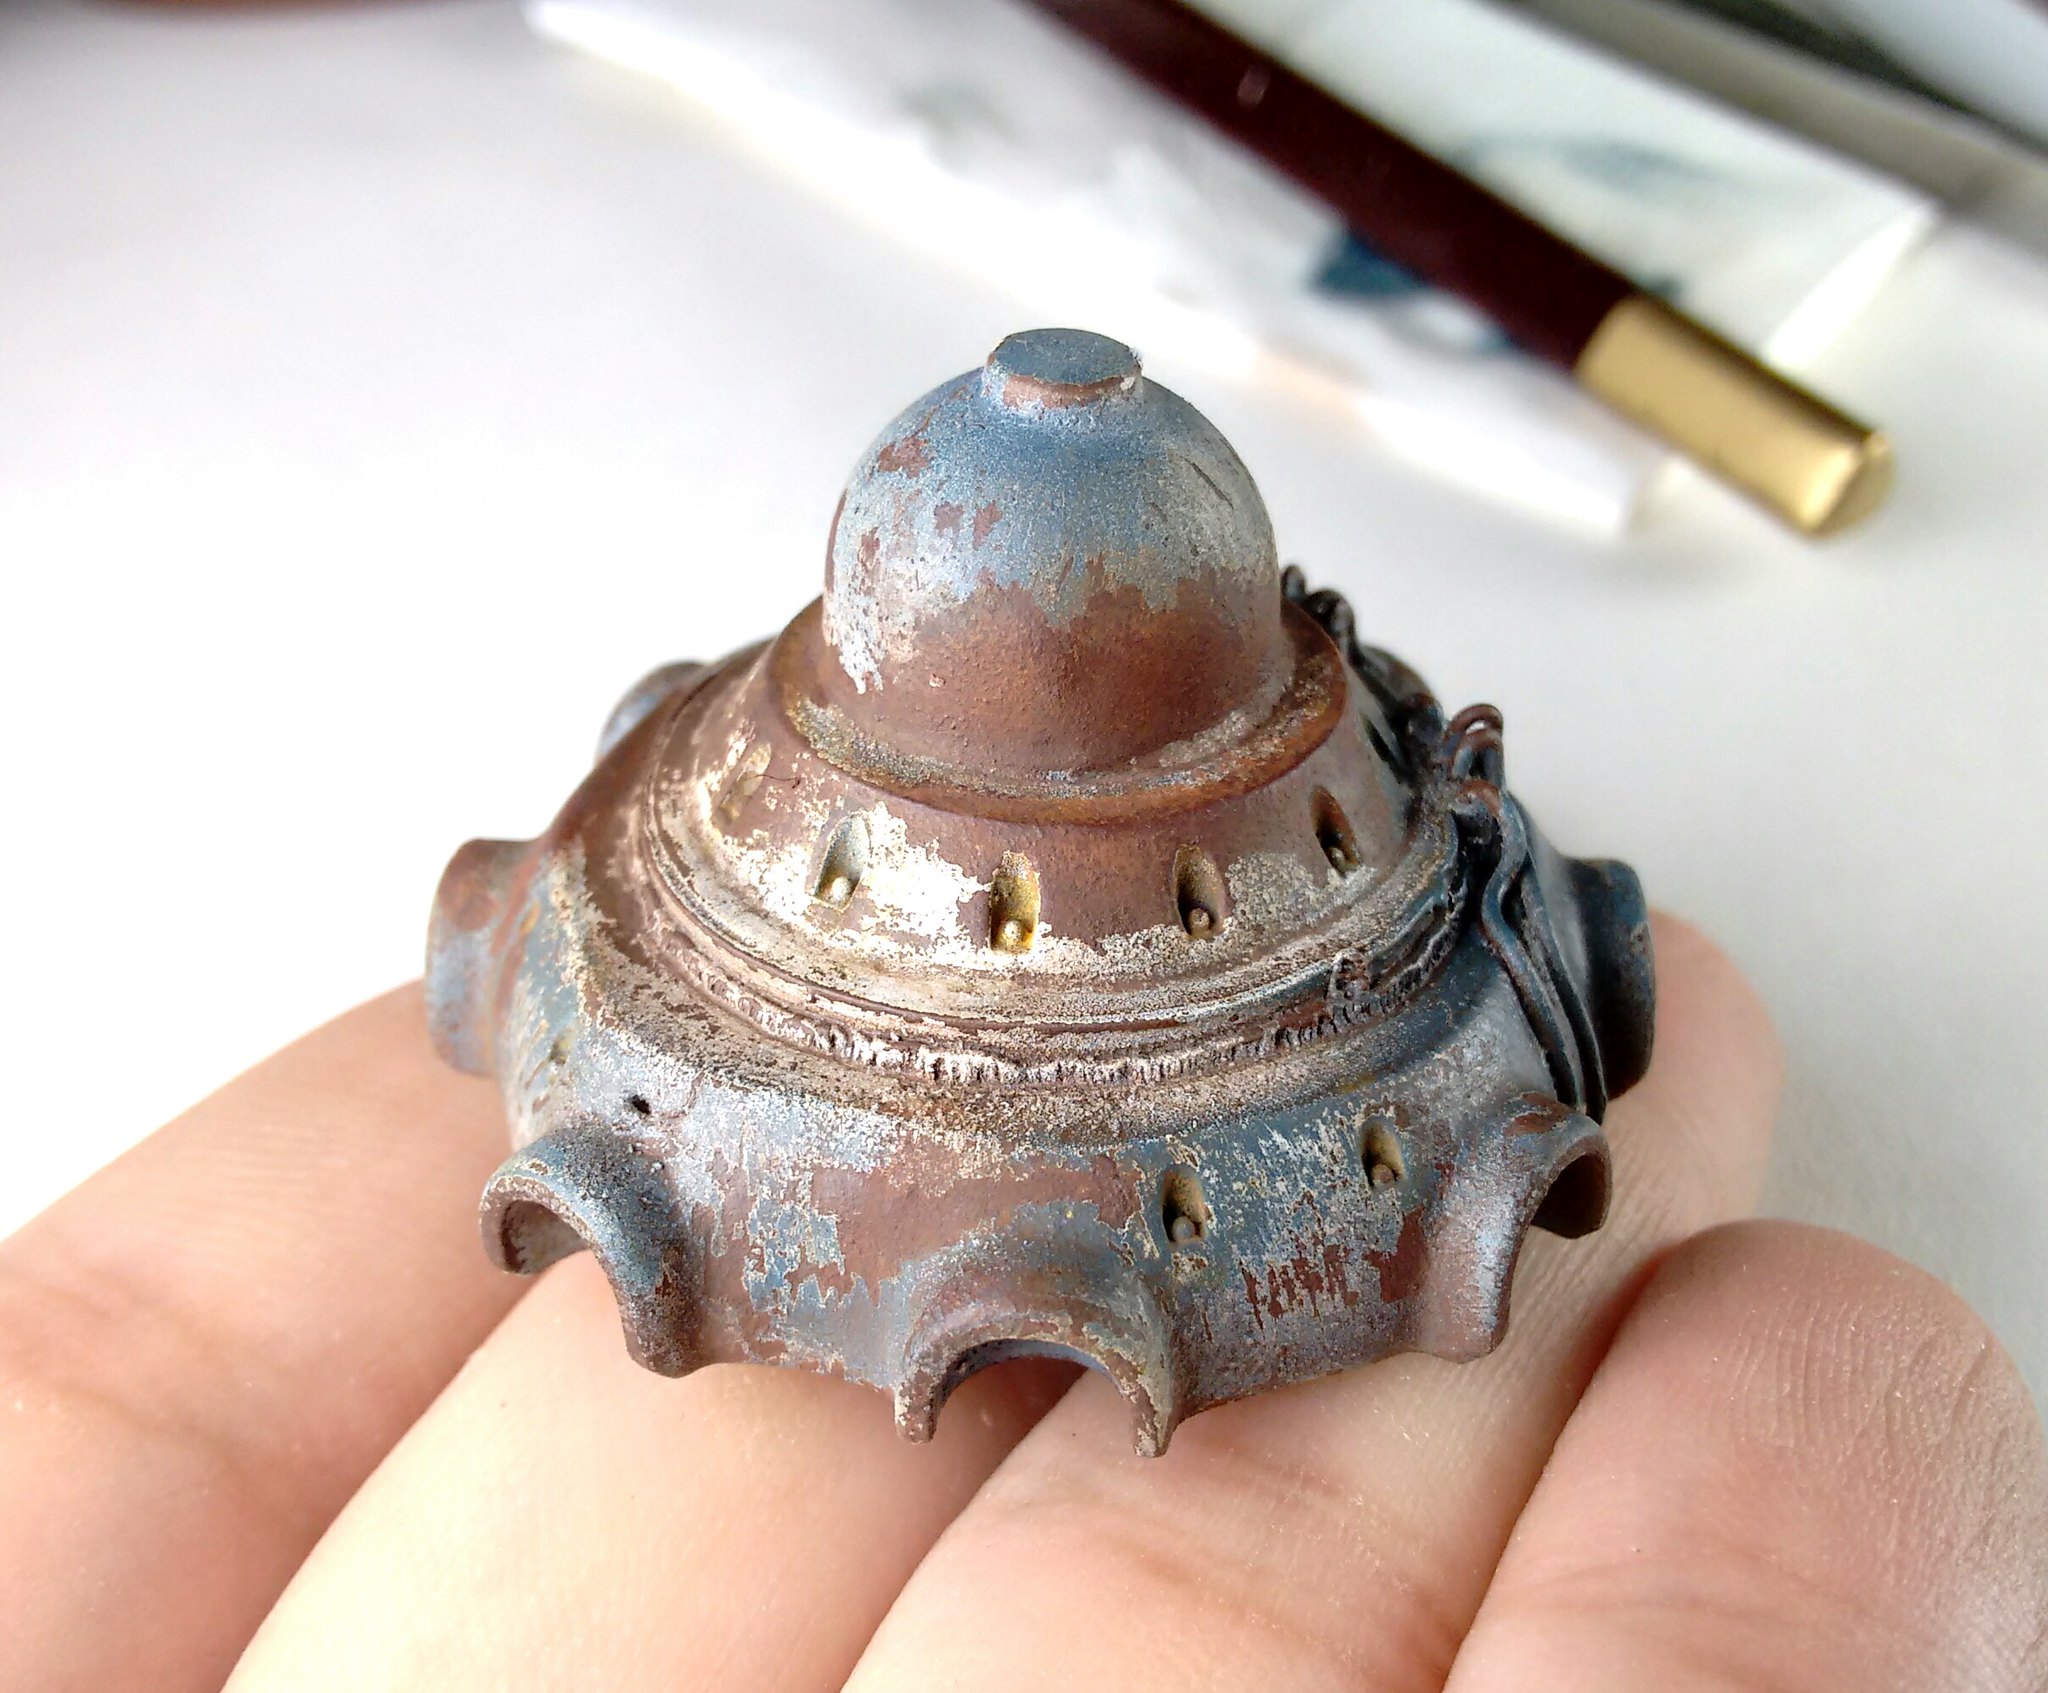
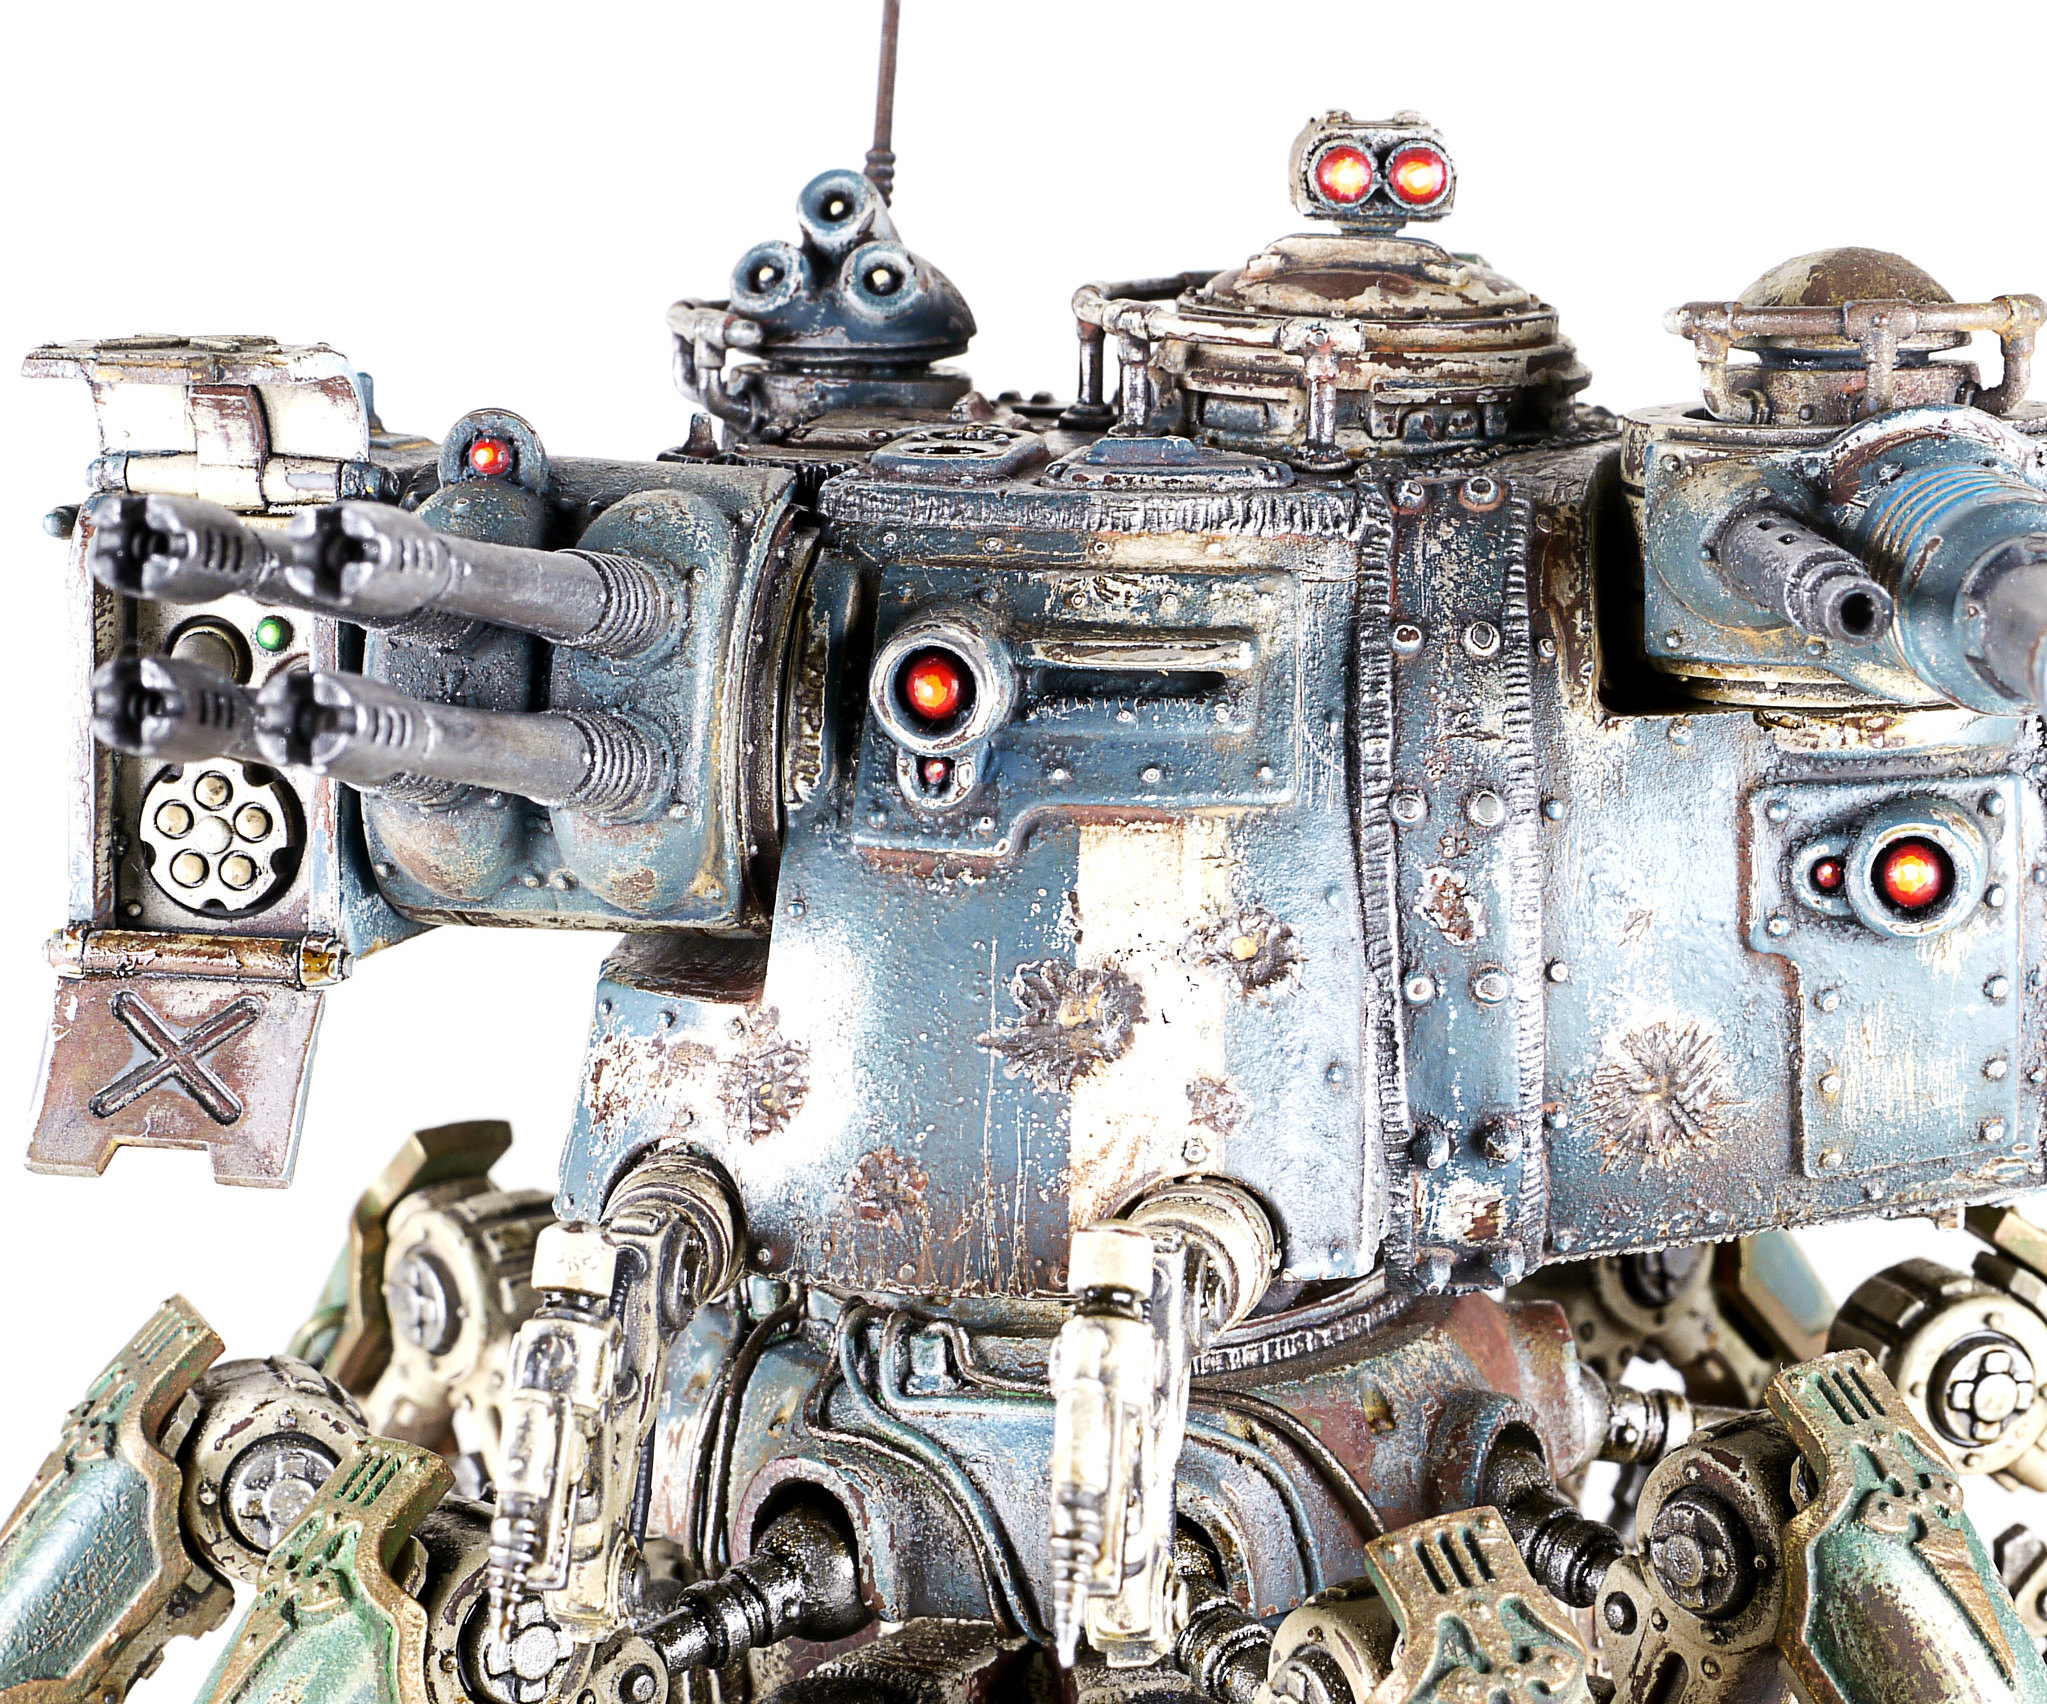
Now the pièce de résistance.
The whole model is based around the idea of an unmanned killing machine, and what say "killing machine" more than a sinister glowing red eye?
Well.. a dozen of glowing red eyes.
Normally on sensors and lenses you want the white spot on one border, shaped like a crescent moon, but if you take a look on the ominous HAL9000 "eye", you'll notice that the lens is glowing exactly in the middle.
No comments:
Post a Comment